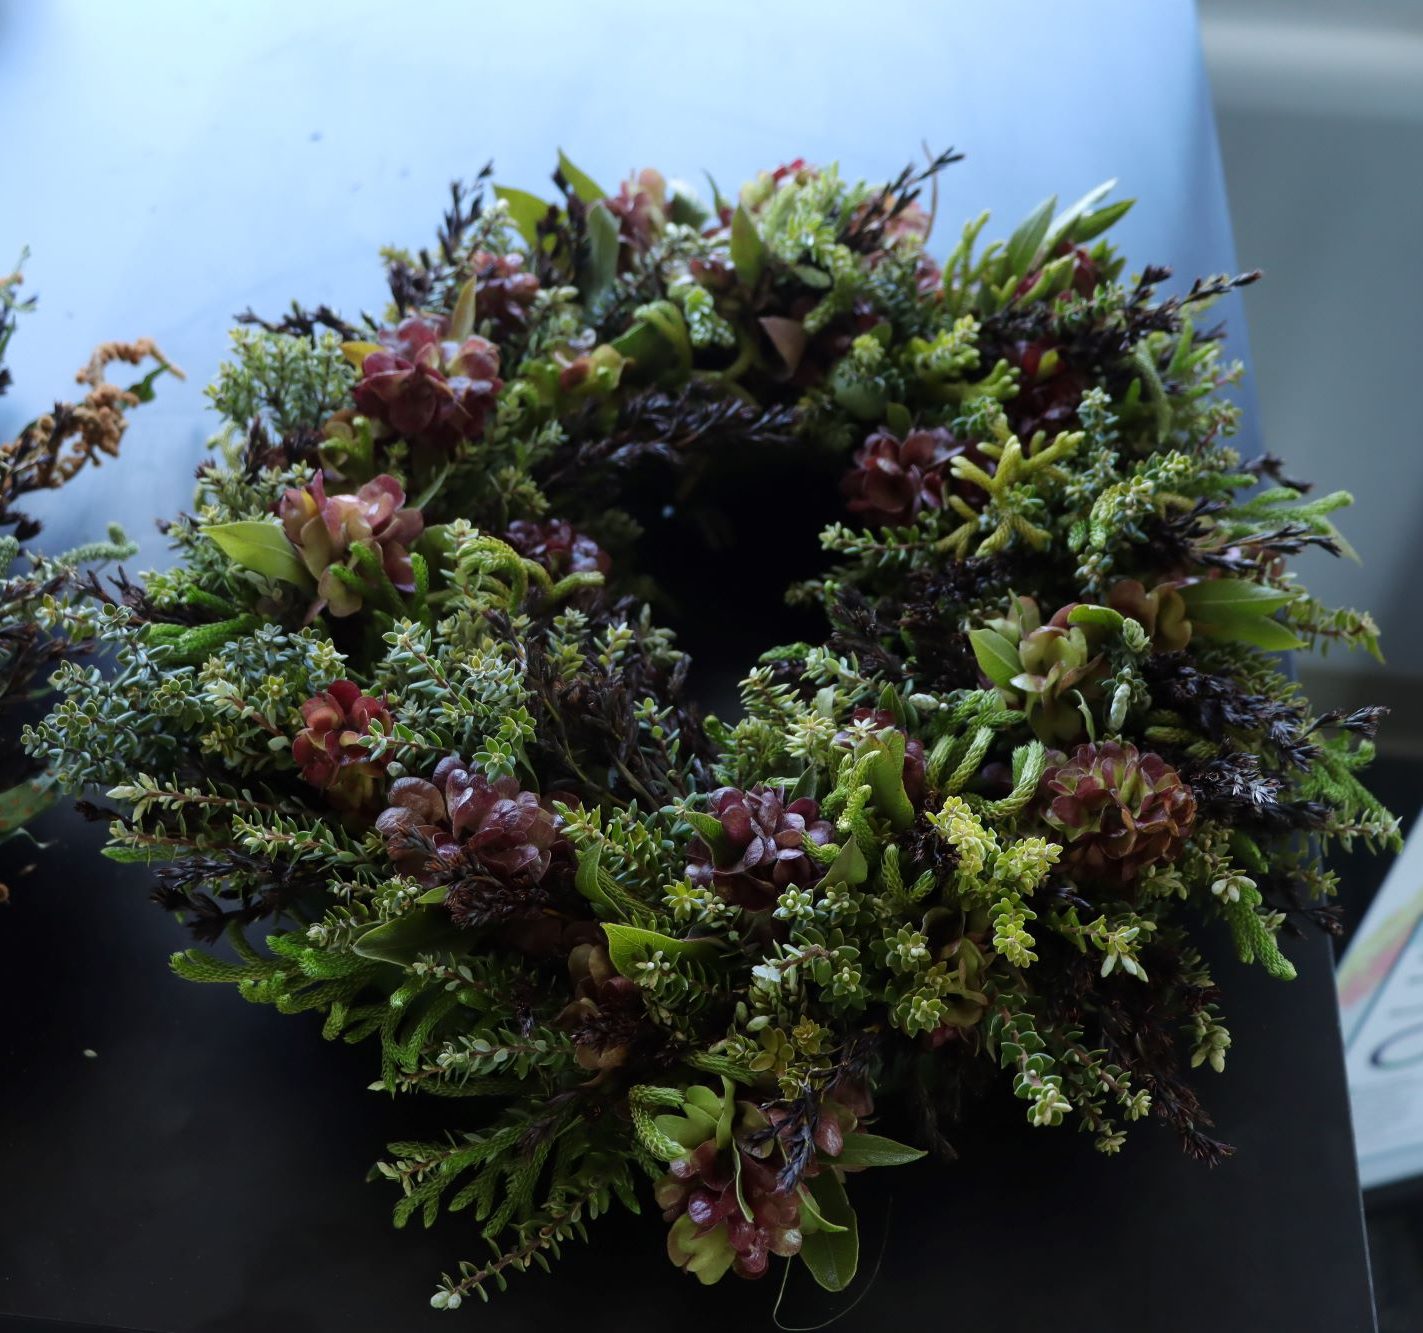
Even though wreaths made of native plants do not have the classic holiday scents, they do capture the bounty and beauty of our landscapes during hoʻoilo (wet season). In ‘Ōlelo Hawaiʻi, lei can mean a garland or a wreath. Therefore, many principles in lei-making can be applied to wreath-making. Through the tradition of wreath-making, you can also cultivate valuable conservation practices like sanitation, sustainable gathering, permitting, and kilo (observation).
Like lei makers, wreath makers can play an important role in preserving our native plant communities by continuing to responsibly engage with our native plants in the forests and on the coasts. A native wreath can last years and give rise to many conversations. Even after all the foliage dries out, your wreath will look beautiful. Read this blog to learn how to incorporate this fun holiday tradition into your life.
1. Determine what kinds of foliage you need
There are many ways to make your wreath! Mix and match with different green and red native foliage and fruits. Or maybe do a themed wreath with only coastal or only dry forest or only fern species. Don’t be afraid to use non-natives either as long as they are pono (non-invasive). Always check plantpono.org first.
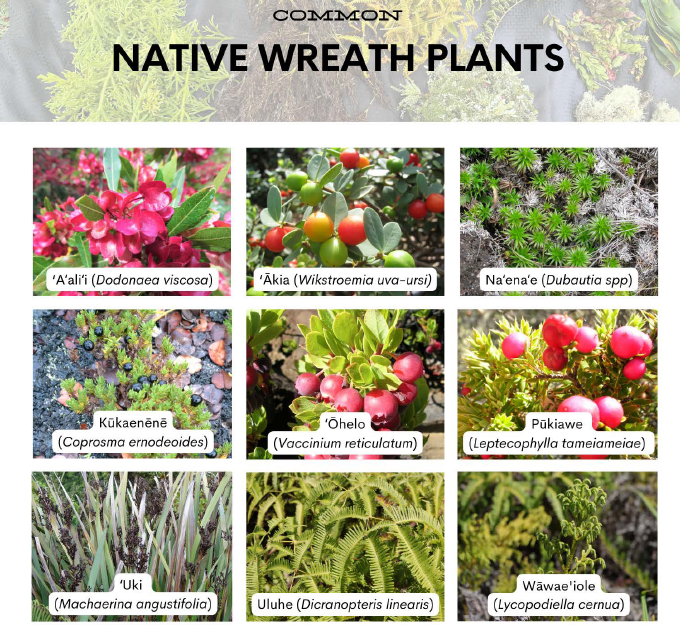
- Common Native Wreath Plants: ʻaʻaliʻi, ʻākia, naʻenaʻe, kūkaenēnē, ʻōhelo, pūkiawe, ʻuki, uluhe, wāwaeʻiole
- Dry Forest: ʻūlei, ʻilima, kuluʻī, māmane, ʻenaʻena
- Coastal: naupaka, pōhinahina, hinahina, pāʻū o Hiʻiaka, ʻilima
- Ferns: palapalai, palaʻā, moa, kupukupu
- Non-Natives: song of India, palm fronds, pine branches, anthurium or protea flowers, lauaʻe, Pele’s hair (Spanish moss)
2. Find where to collect foliage
If you are not growing or have access to the plant you would like, then consider collecting foliage from one of Hawaiʻi Island’s Forest Reserves. The Forest Reserve System is meant to serve the public through the protection and enhancement of important forested mauka lands for their abundance of public benefits and values.
The Department of Land and Natural Resources (DLNR) Division of Forestry and Wildlife (DOFAW) are the primary Forest Reserve stewards. They provide recreational and hunting opportunities, watershed restoration, habitat protection, cultural resource management, fire protection and more. There are 20 Forest Reserves across the island, totaling 484,267 acres. To check out all of the different sites, please visit the DOFAW Hawaiʻi Island Forest Reserves page.

Below are some examples of collection activities at different Forest Reserves across the island:
- Pick pūkiawe, ʻaʻaliʻi, eucalyptus, and pines at Honuaʻula FR in Kona.
- Hike through the moist Kohala FR to find unique native foliage.
- Look for maile across the Hāmākua FR or maile in the Kalōpā Section.
- Collect many things in the Hilo and Waiākea Reserves – maile, māmaki, ʻōhelo, etc.
- The wet forest of ʻŌlaʻa is best for hāpuʻu fiddlehead and māmaki.
- Hidden in the Kaʻū Reserves you can find maile and natives from wet to subalpine elevations.
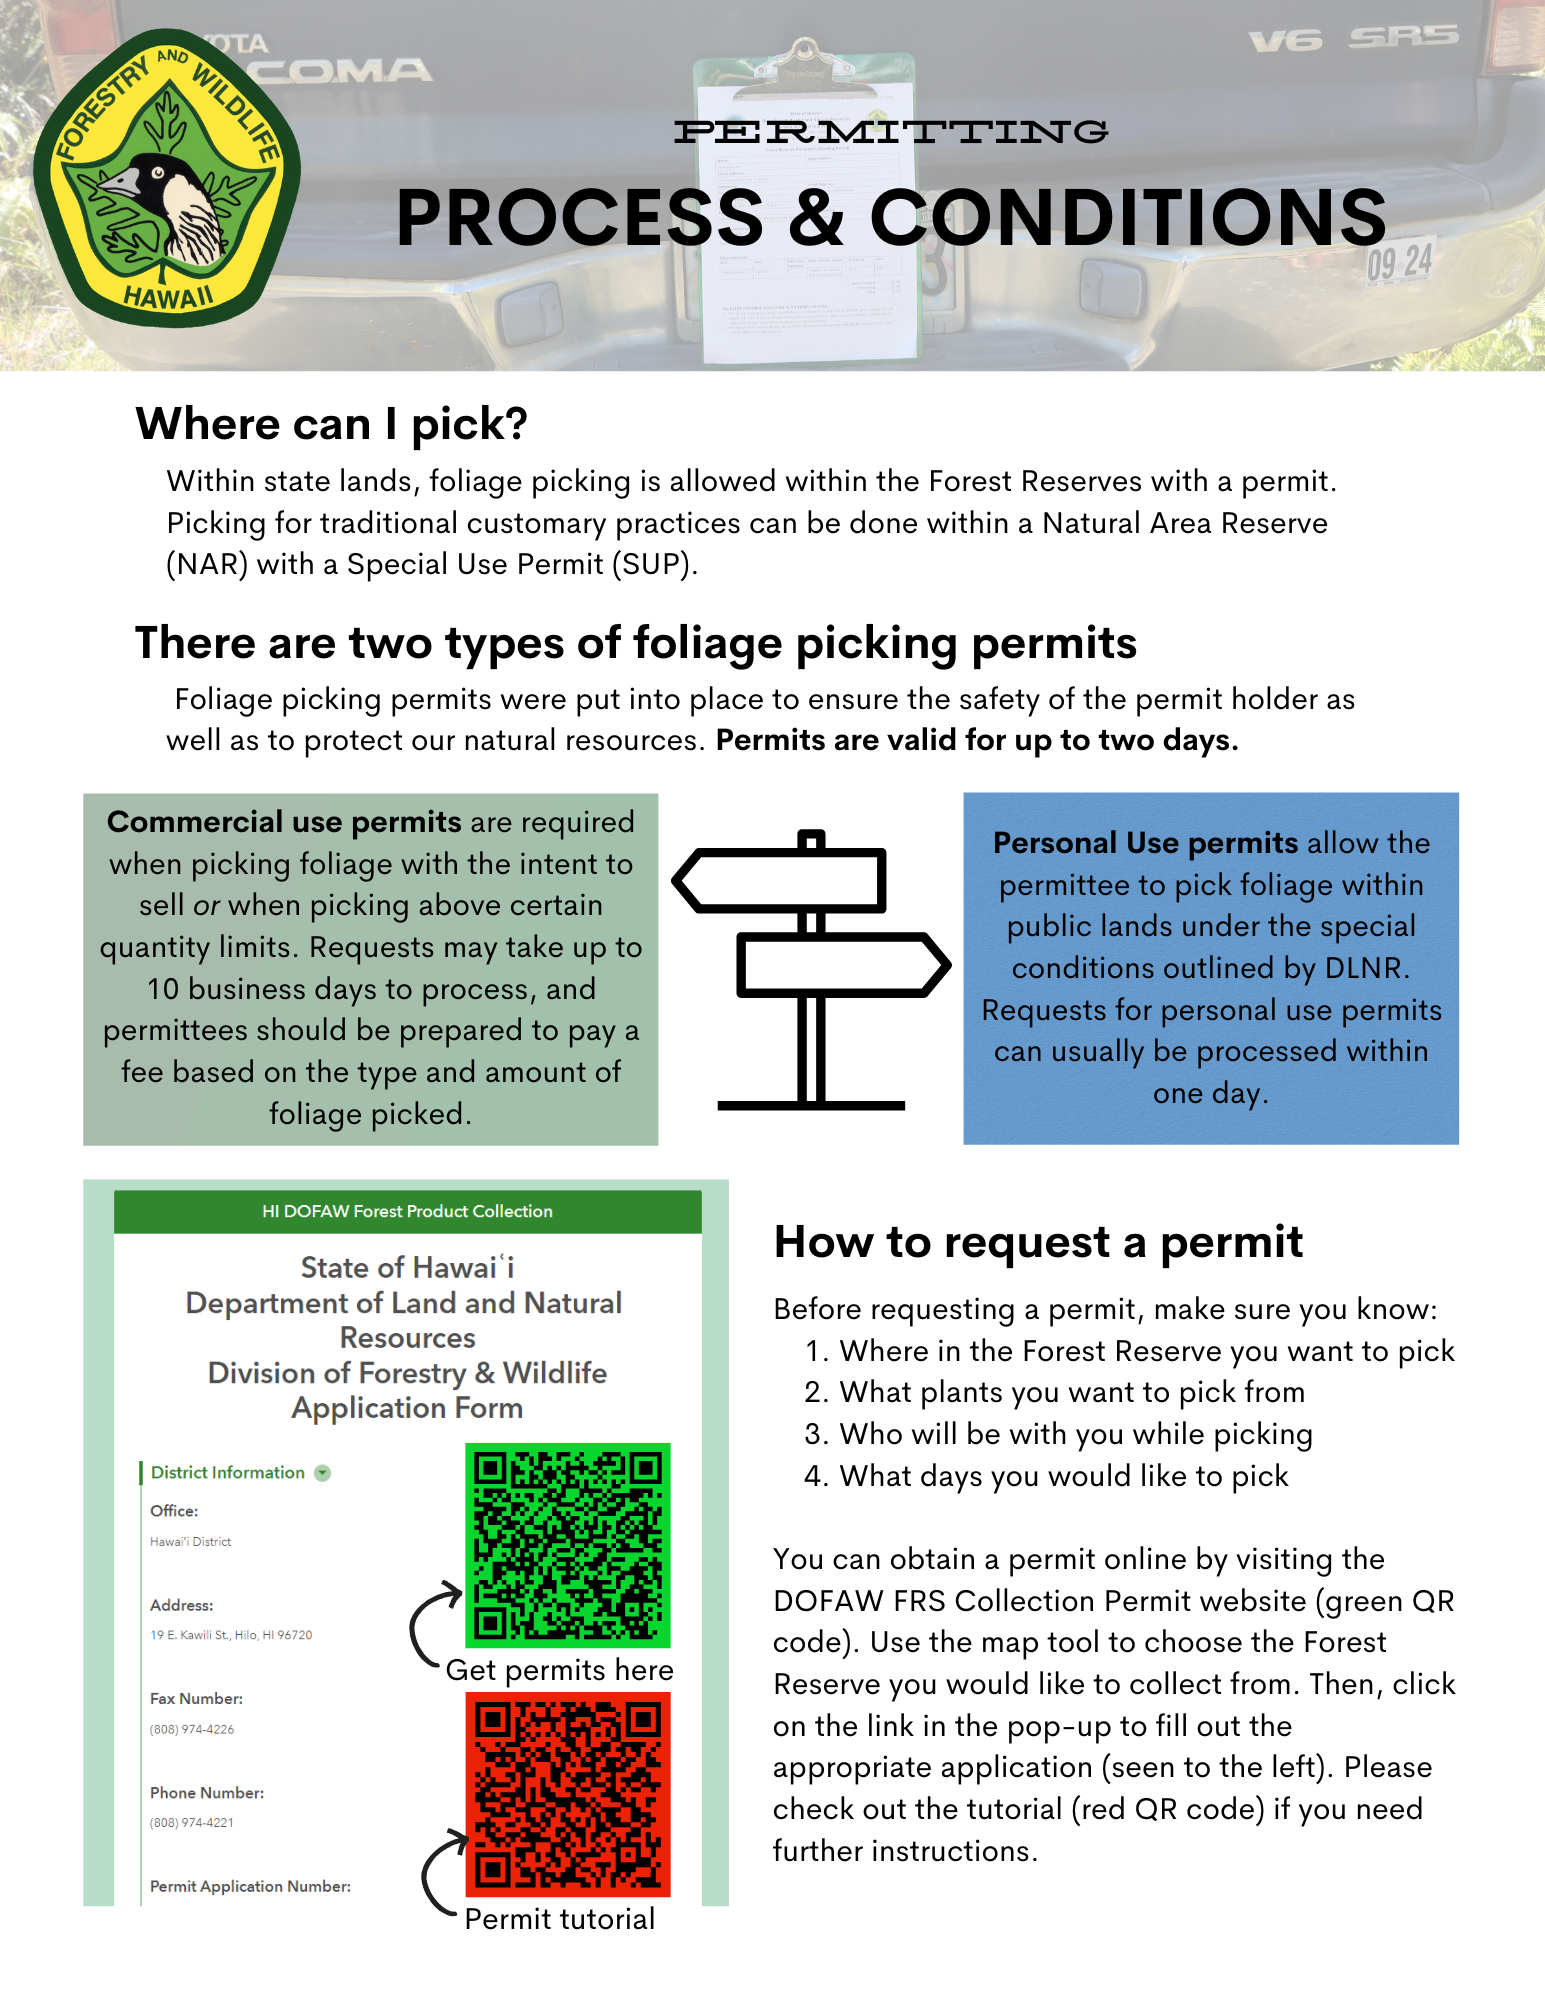
3. Request appropriate permit from DLNR Forestry & Wildlife
4. Get out there and sustainably collect plant materials
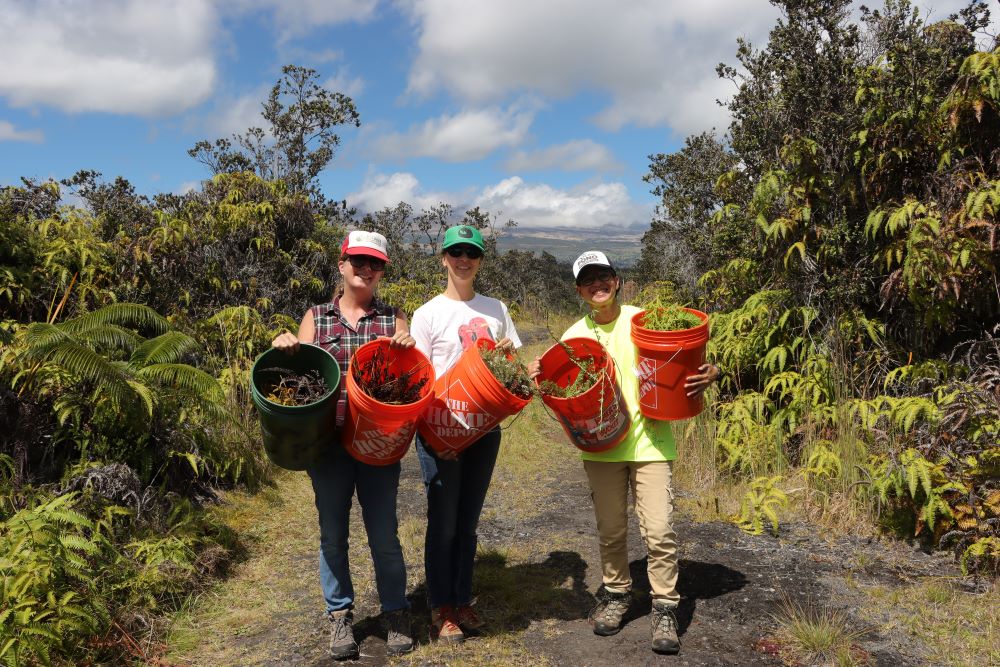
Typically one 5-gallon bucket will be enough foliage to make a tightly constructed 12-inch wreath. Before you go out remember to wear a brightly colored shirt or hat, keep your permit with you at all times, always remove less than 1/3 of the foliage, and pack out all trash. Prior to entering the Forest Reserve, please decontaminate your shoes, tools, and gear to prevent the spread of Rapid ʻŌhiʻa Death and other invasive species. If you do not know how to decon, please watch this informative YouTube video.
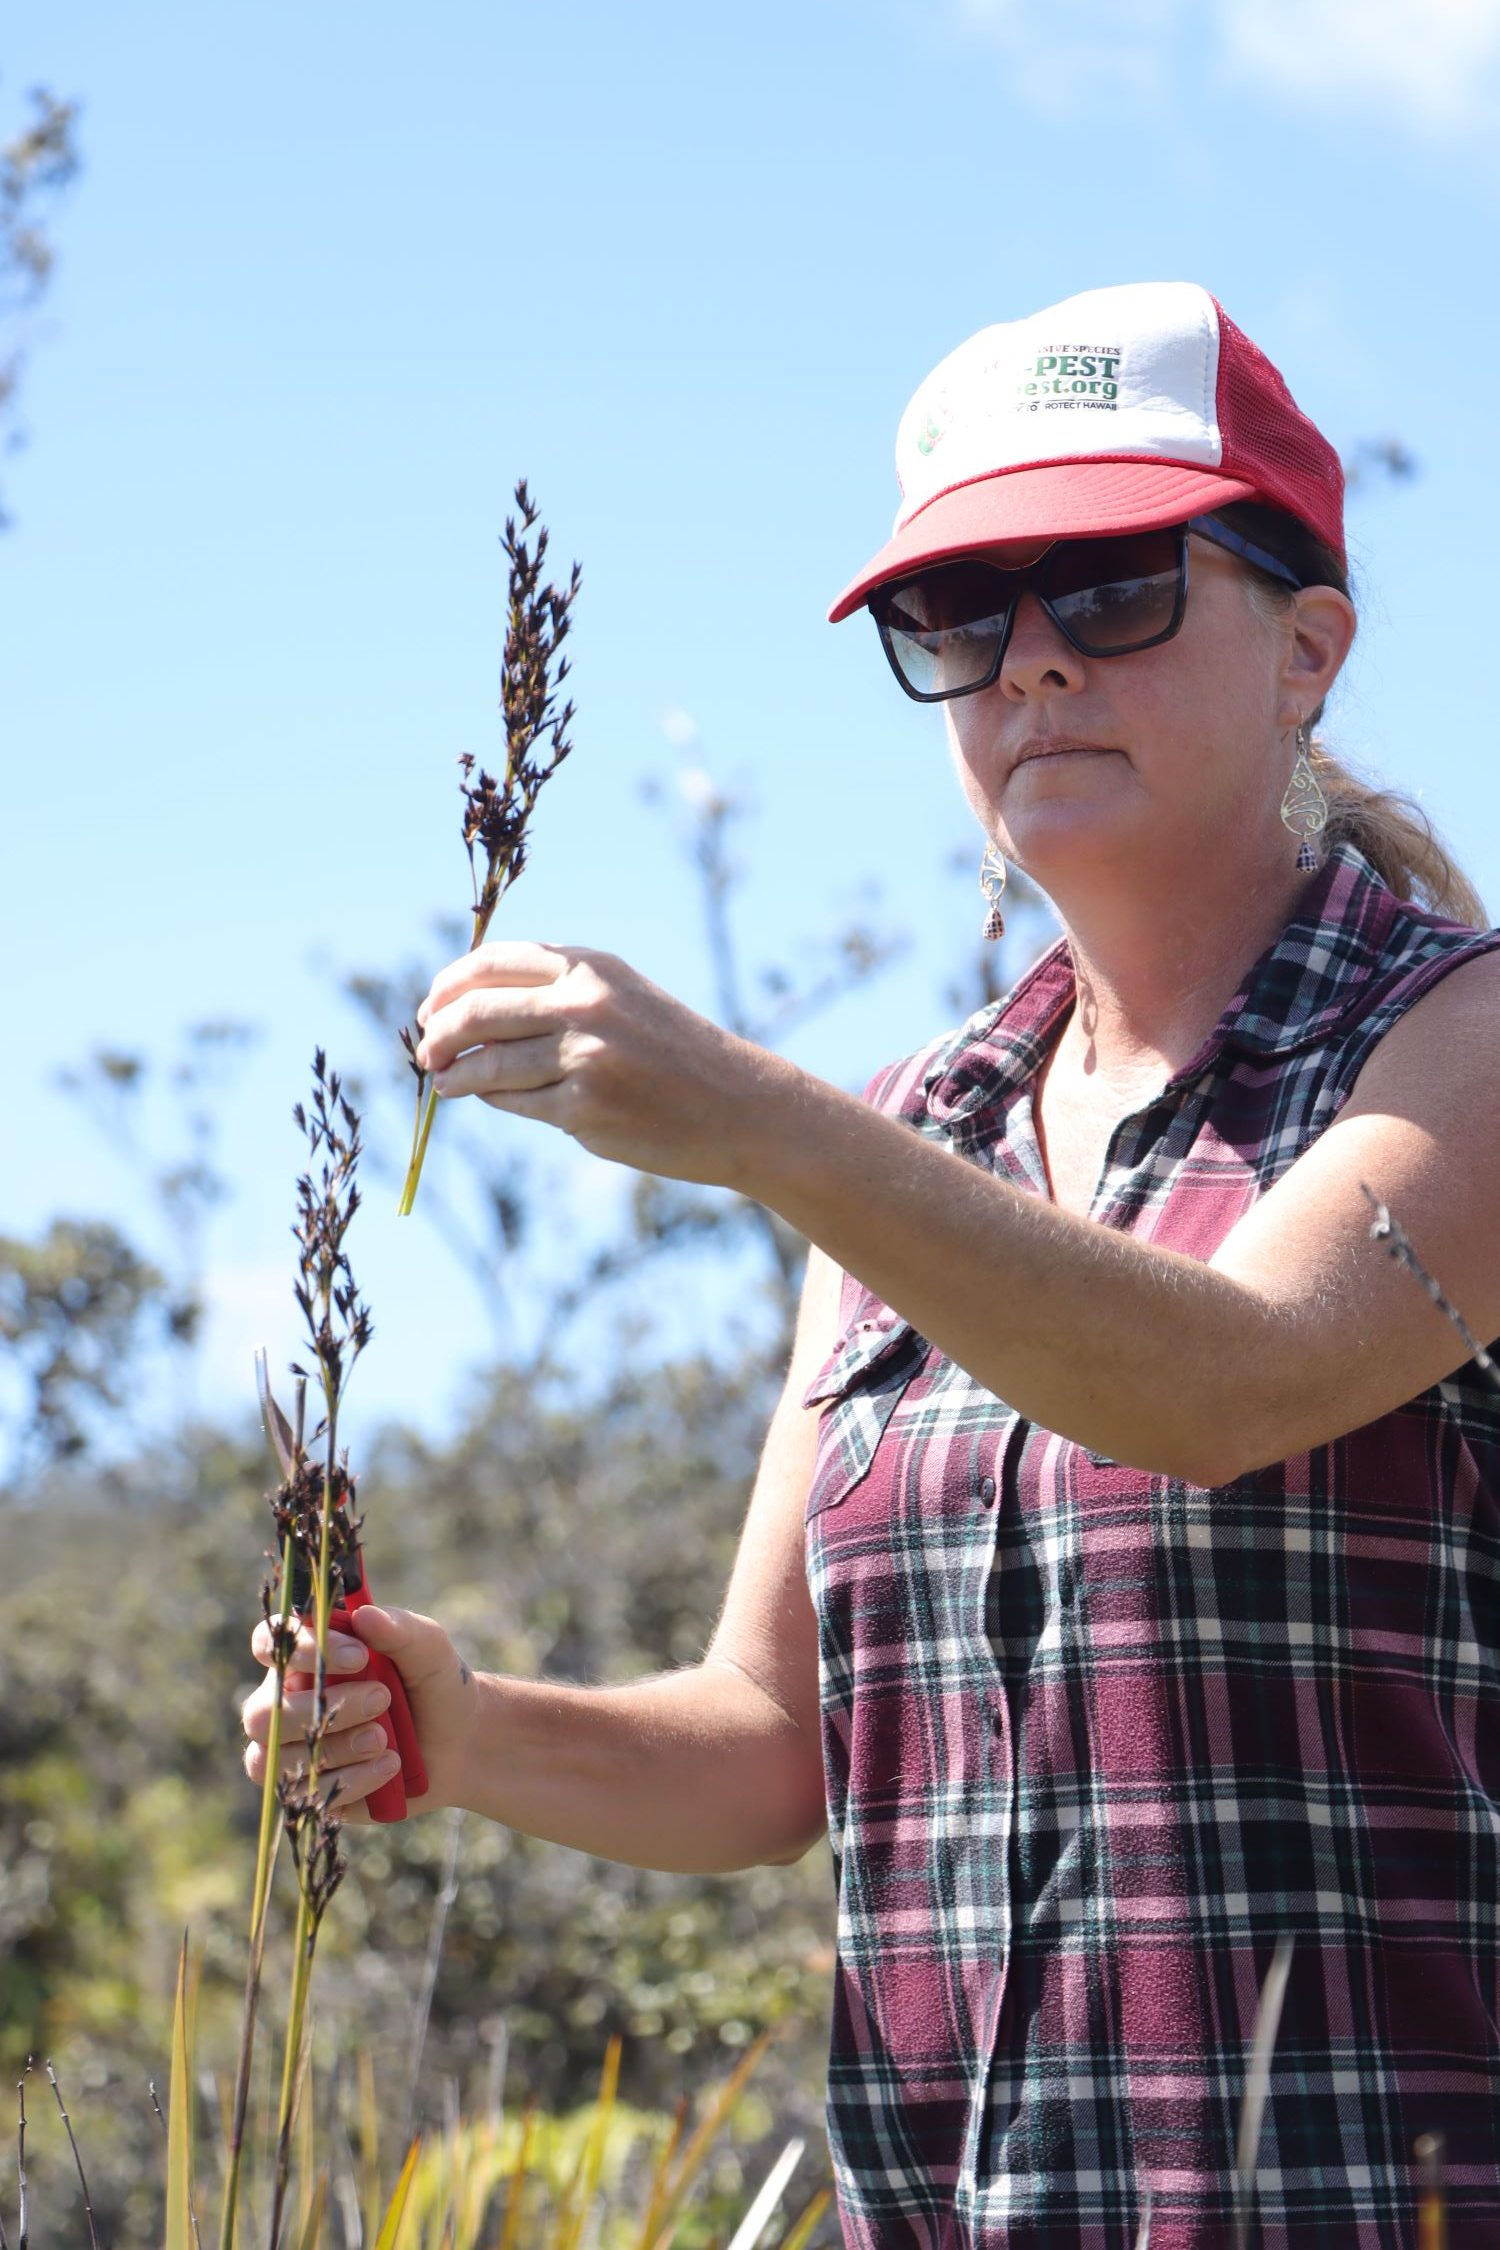
Please do:
- Have permission & permits to pick in the area you’d like. Keep your permits on you at all times.
- Be mindful of all organisms and navigate through areas lightly. If in a group, stay on the same trail to reduce impact.
- Collect foliage carefully so not to damage the growing plant. Use clean tools to prevent the spread of diseases.
- Space out your gathering of each plant species and always collect less than 1/3 of the plant.
- Have positive thoughts & conversations. Don’t be hasty.
- Clean and leave any unwanted plant parts in the forest so the nutrients can return to the soils.
Please don’t:
- Refrain from using ʻōhiʻa at this time. Any wounding or added plant stress gives potential for Rapid ʻŌhiʻa Death infection.
- Don’t pick from young, small, or unhealthy plants. Give them the chance to grow.
- Don’t uproot ferns. Harvest the leafy portions and some stem.
- Never take more than you need. If you do end up with extra, make a lei or an arrangement.
- Don’t throw unwanted foliage or wreath into the trash. Let it naturally decompose outdoors.
5. Store and transport your foliage carefully
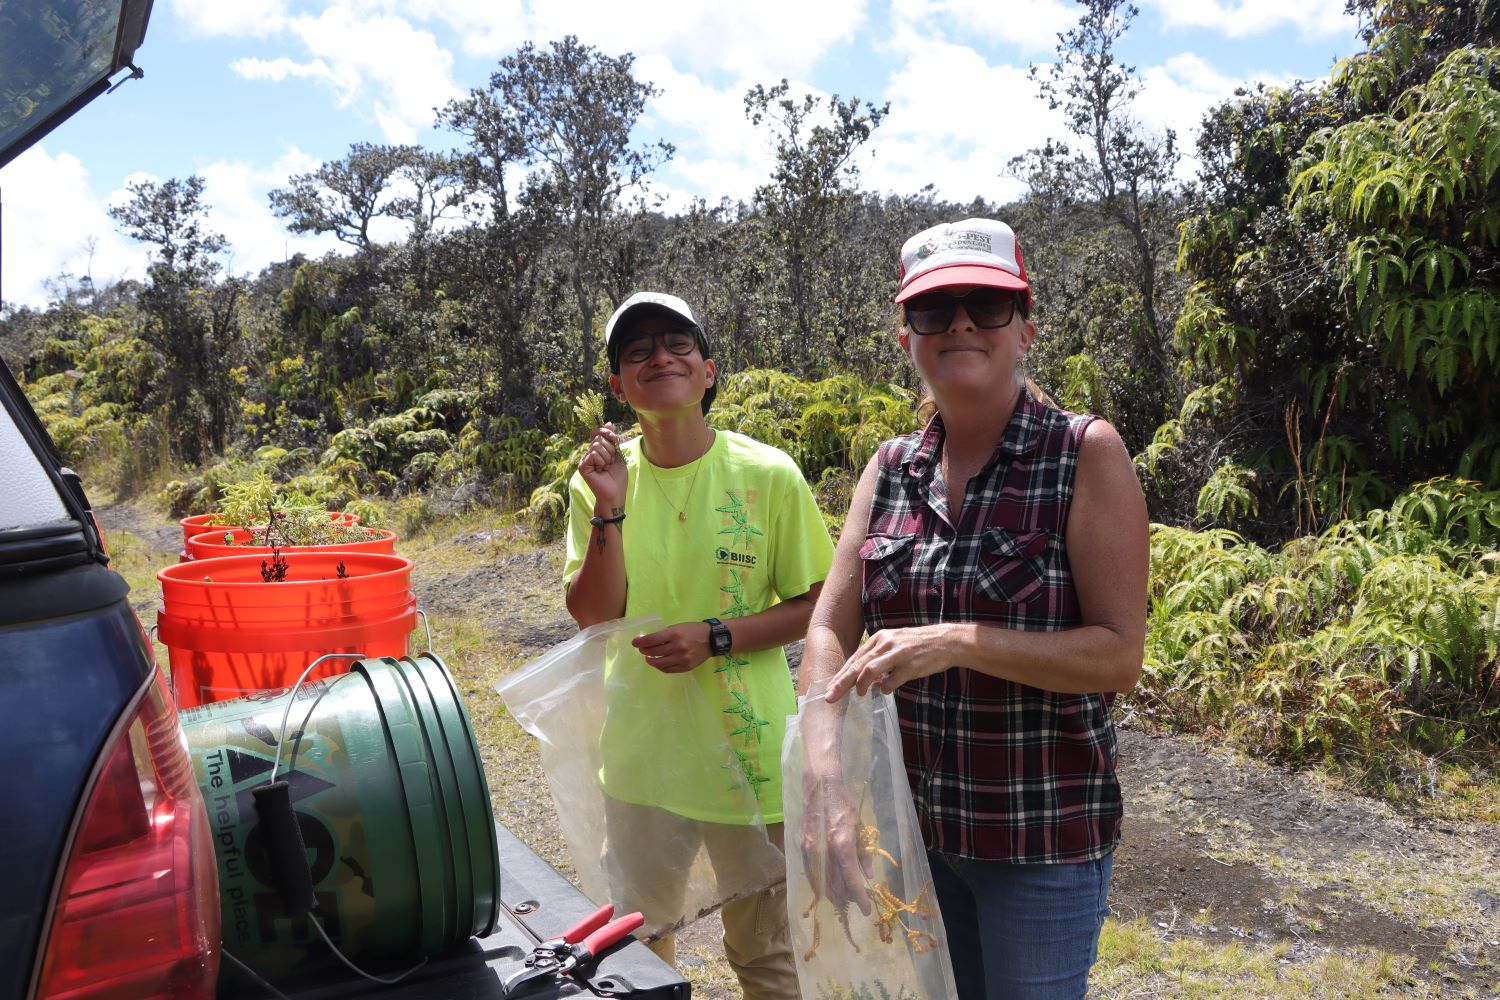
The best time to pick foliage is during the cool times of the day like early morning and evening. This helps the foliage to stay fresh and slow wilting. Make sure you have a large bag, bucket, or other container to gather. Be sure to seal filled containers and leave in a cool shady spot.
When transporting, some people like to mist the foliage before or add wet paper towels inside. However, sometimes you need to store your foliage for longer than a day. In that case, the best way to store foliage is by bagging/containerizing and then storing them in a cooler with ice that has a layer of cardboard or newspaper to prevent freeze damage.
When driving, be sure that no reproducing materials blow out of your vehicle. Try to gather from areas within your region, but you may have to go to new areas to find the foliage you want. Finally, triple-check for pests that could be hitching a ride on your self, tools, vehicles, and collected foliage.
Here are some tips for cleaning plant materials:
- Hardy materials (ex. ti leaf): Wipe clean with a damp towel and freeze to eliminate any lingering pests, especially little fire ants. (Freezing also helps with pliability)
- Medium materials (ex. woody plants): Soak in a bucket of cool water to drown or flush out pests.
- Delicate materials (ex. flowers): Let sit on a clean surface in a cool shaded area to allow insects to vacate.
6. Gather all of your wreath making supplies
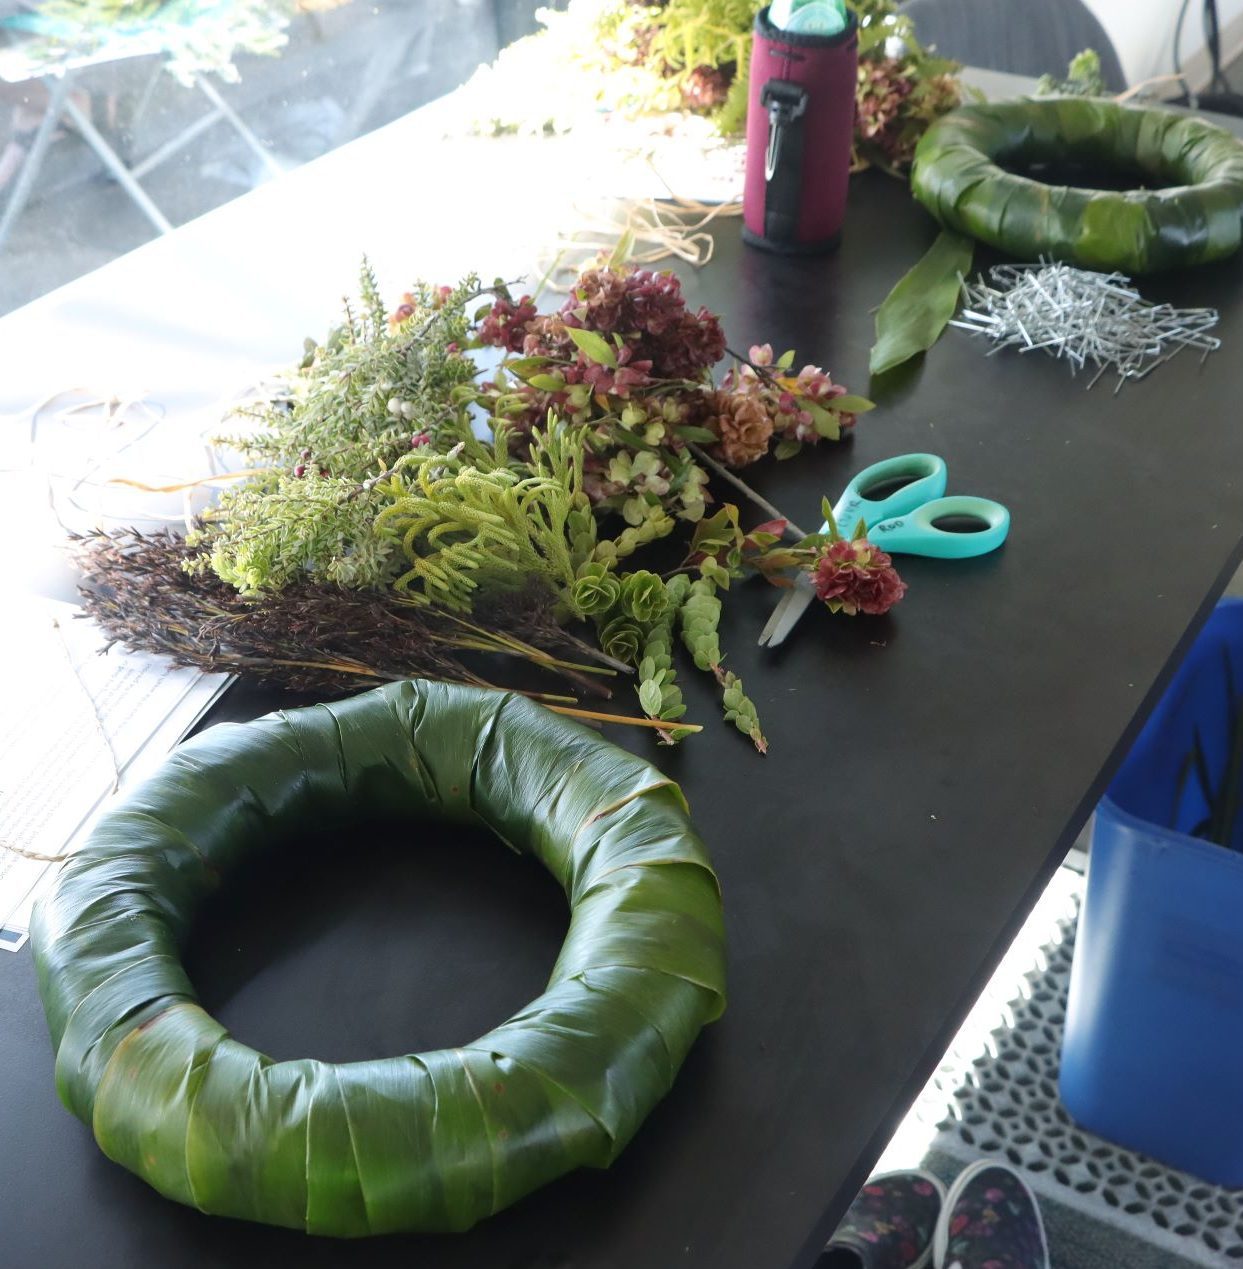
- Scissors and shears: To trim foliage for bundles.
- Storage bags or containers: These should be easy to carry and ideally sealable. You may also need wet paper towels and/or ice packs for transit. Airtight containers or plastic bags slow wilting if foliage is stored in the refrigerator or using the cooler method.
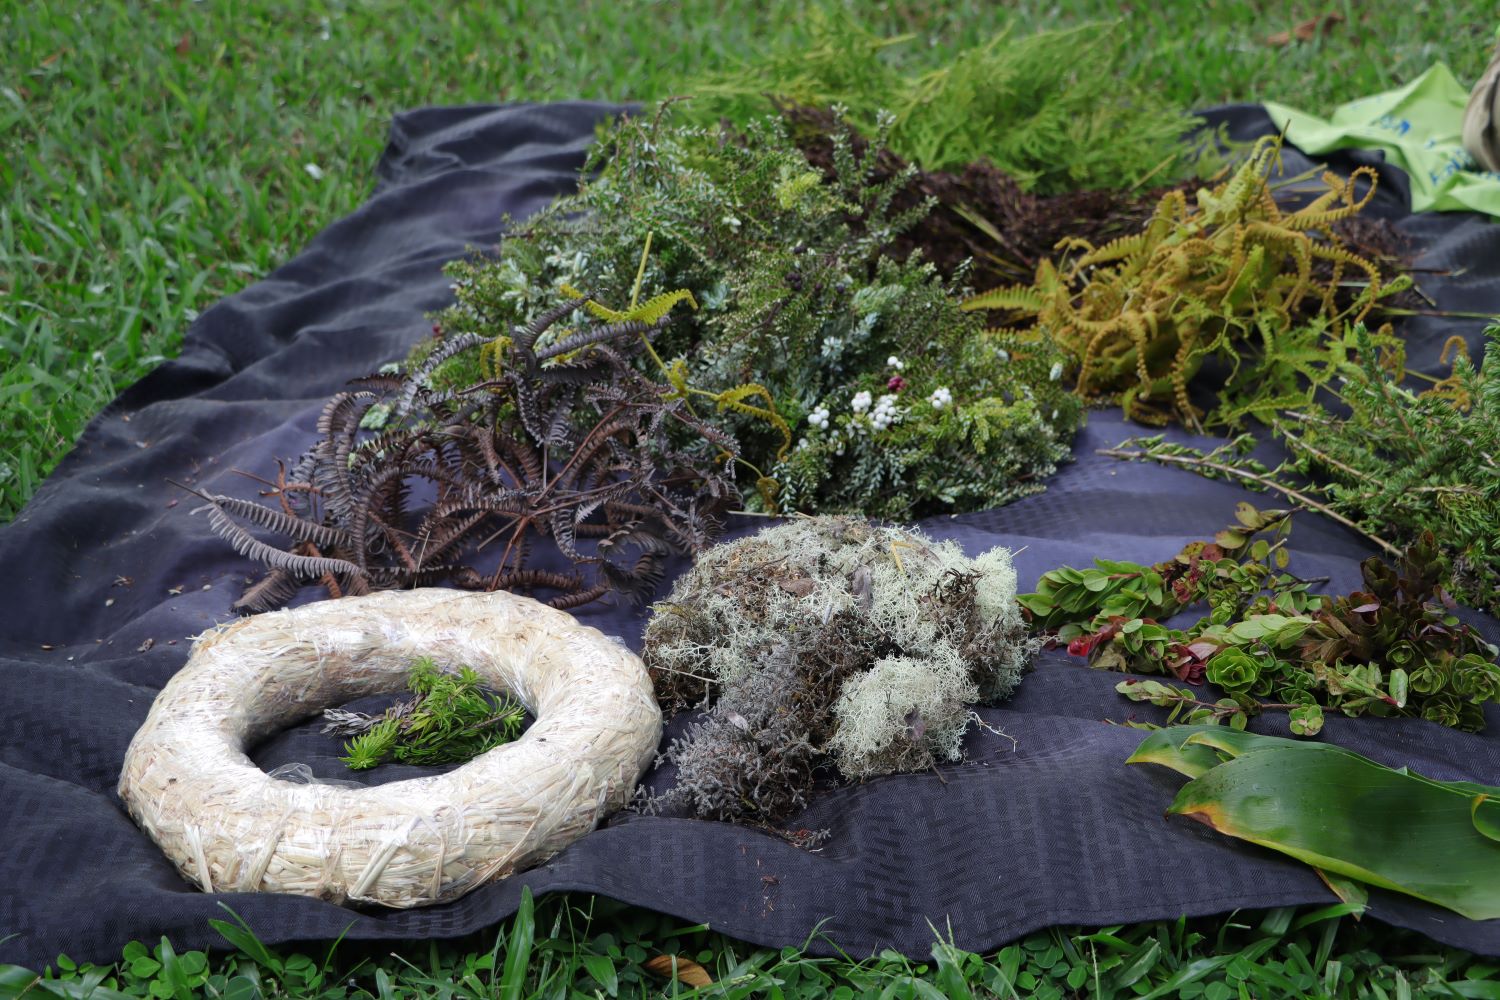
- Wreath form: We like to use straw forms, but there are other kinds. You can also make your own form using materials like newspaper, brown paper bags, or ti-leaf. Arrange materials in a circle and wind a fiber around to mold the final shape.
- Greening pins: These pins fasten foliage firmly to the wreath form and provide a clean finish.
- Ti leaf: You can use ti leaf of any variety to cover the wreath form.
- Hāliʻi: Your prepared foliage, working wreath, and supplies should stay on a sheet/mat to keep your workspace clean.
- Raffia: You need raffia to form the loop to hang the wreath.
7. Prepare your wreath form
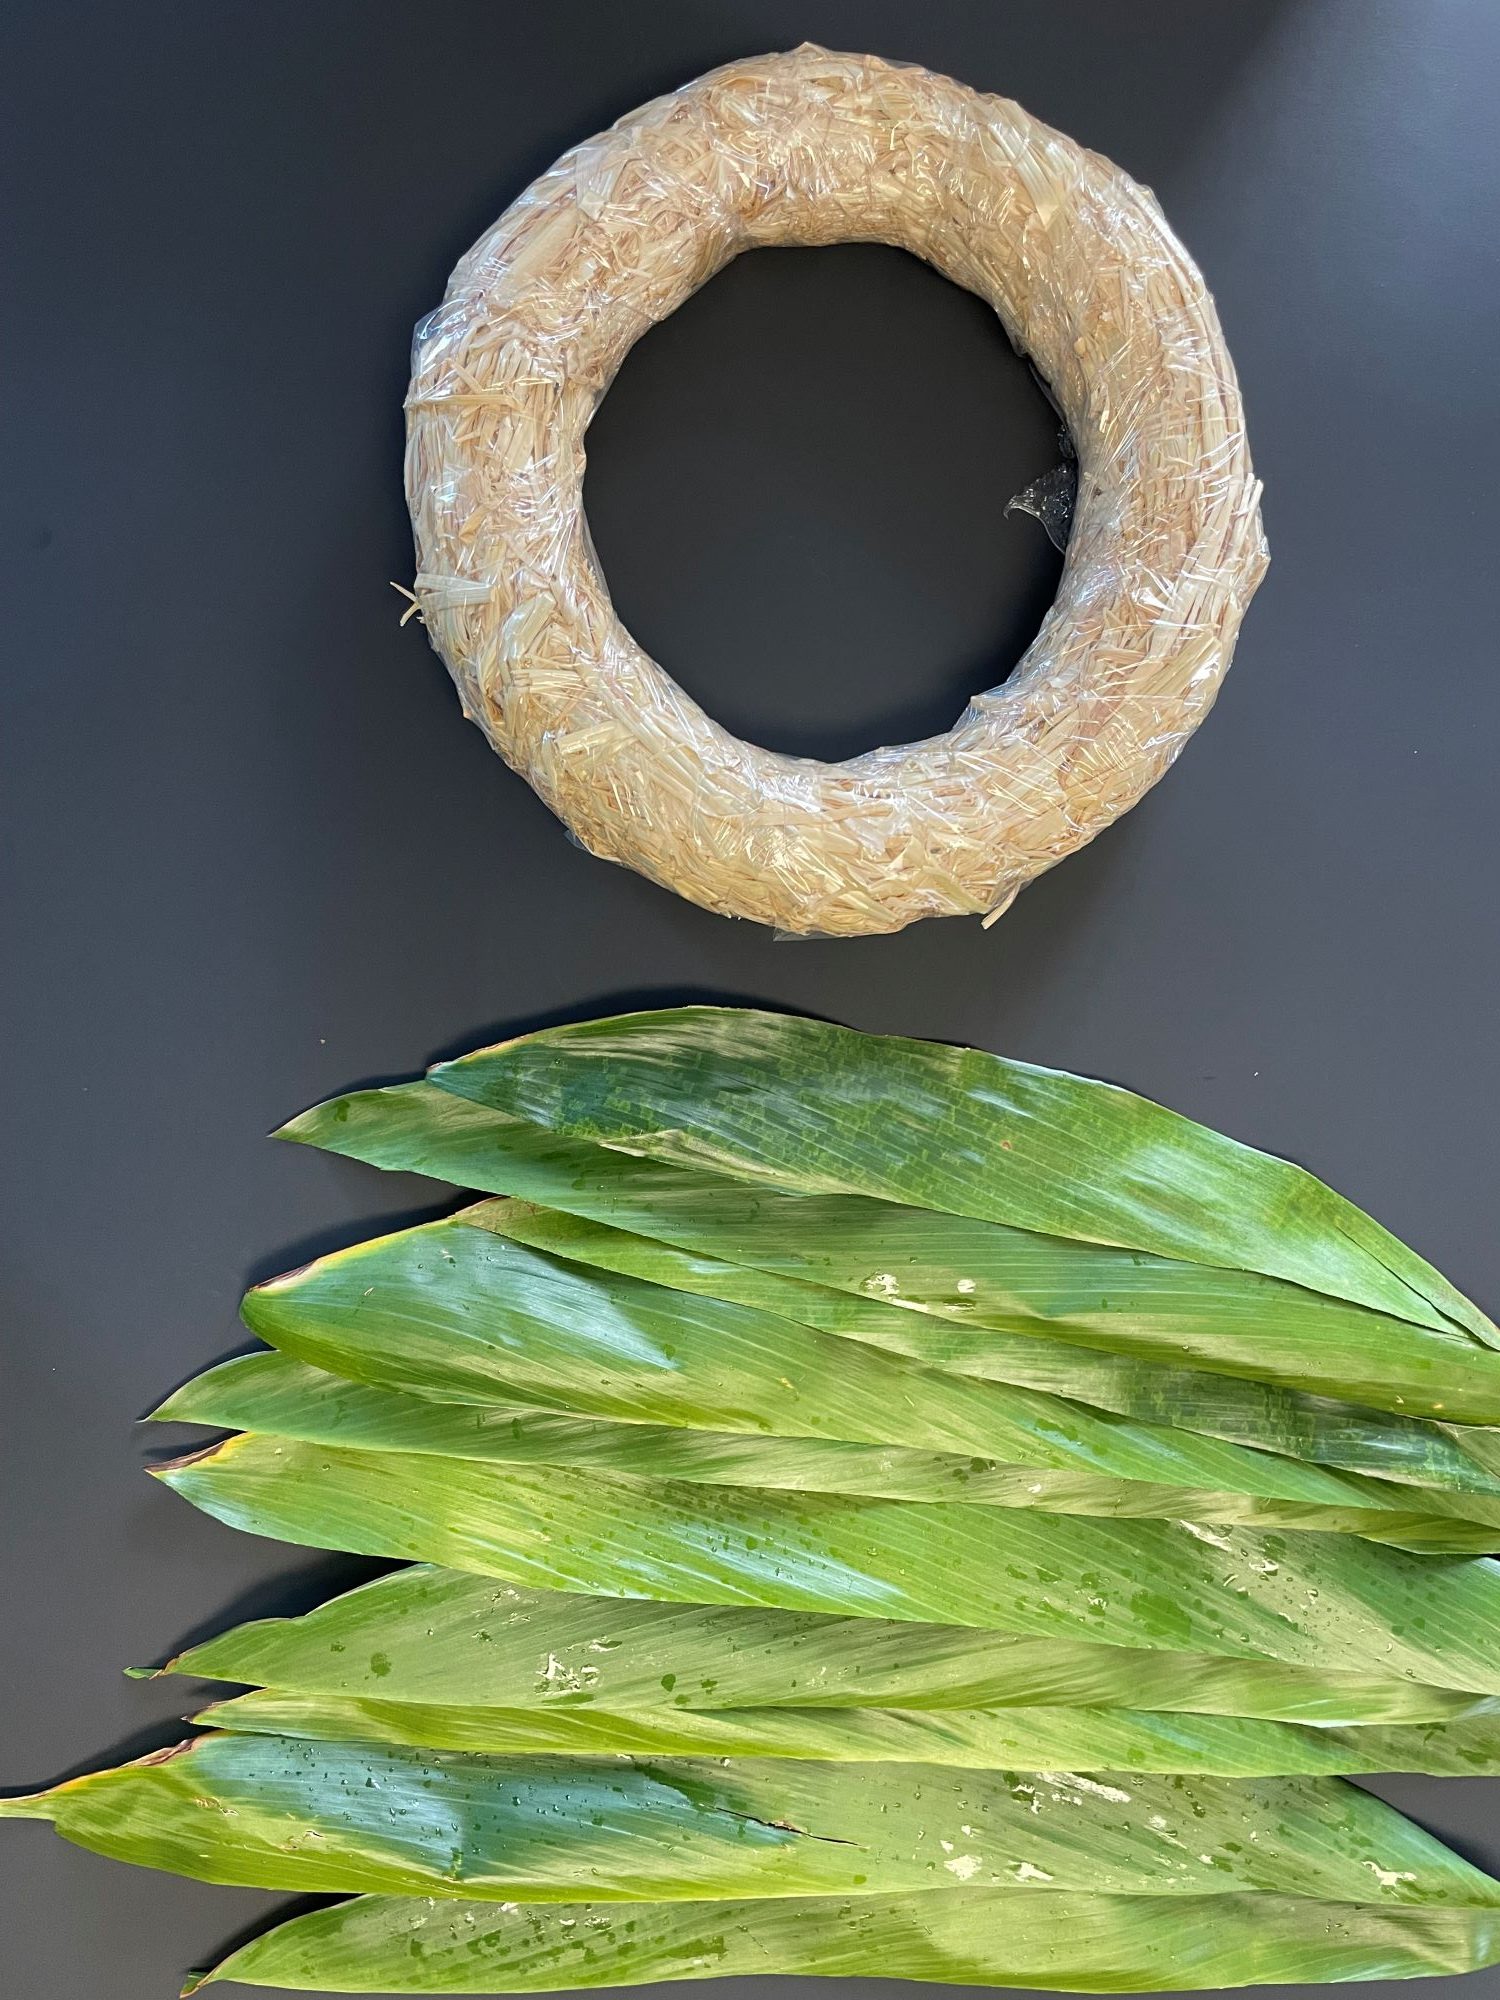
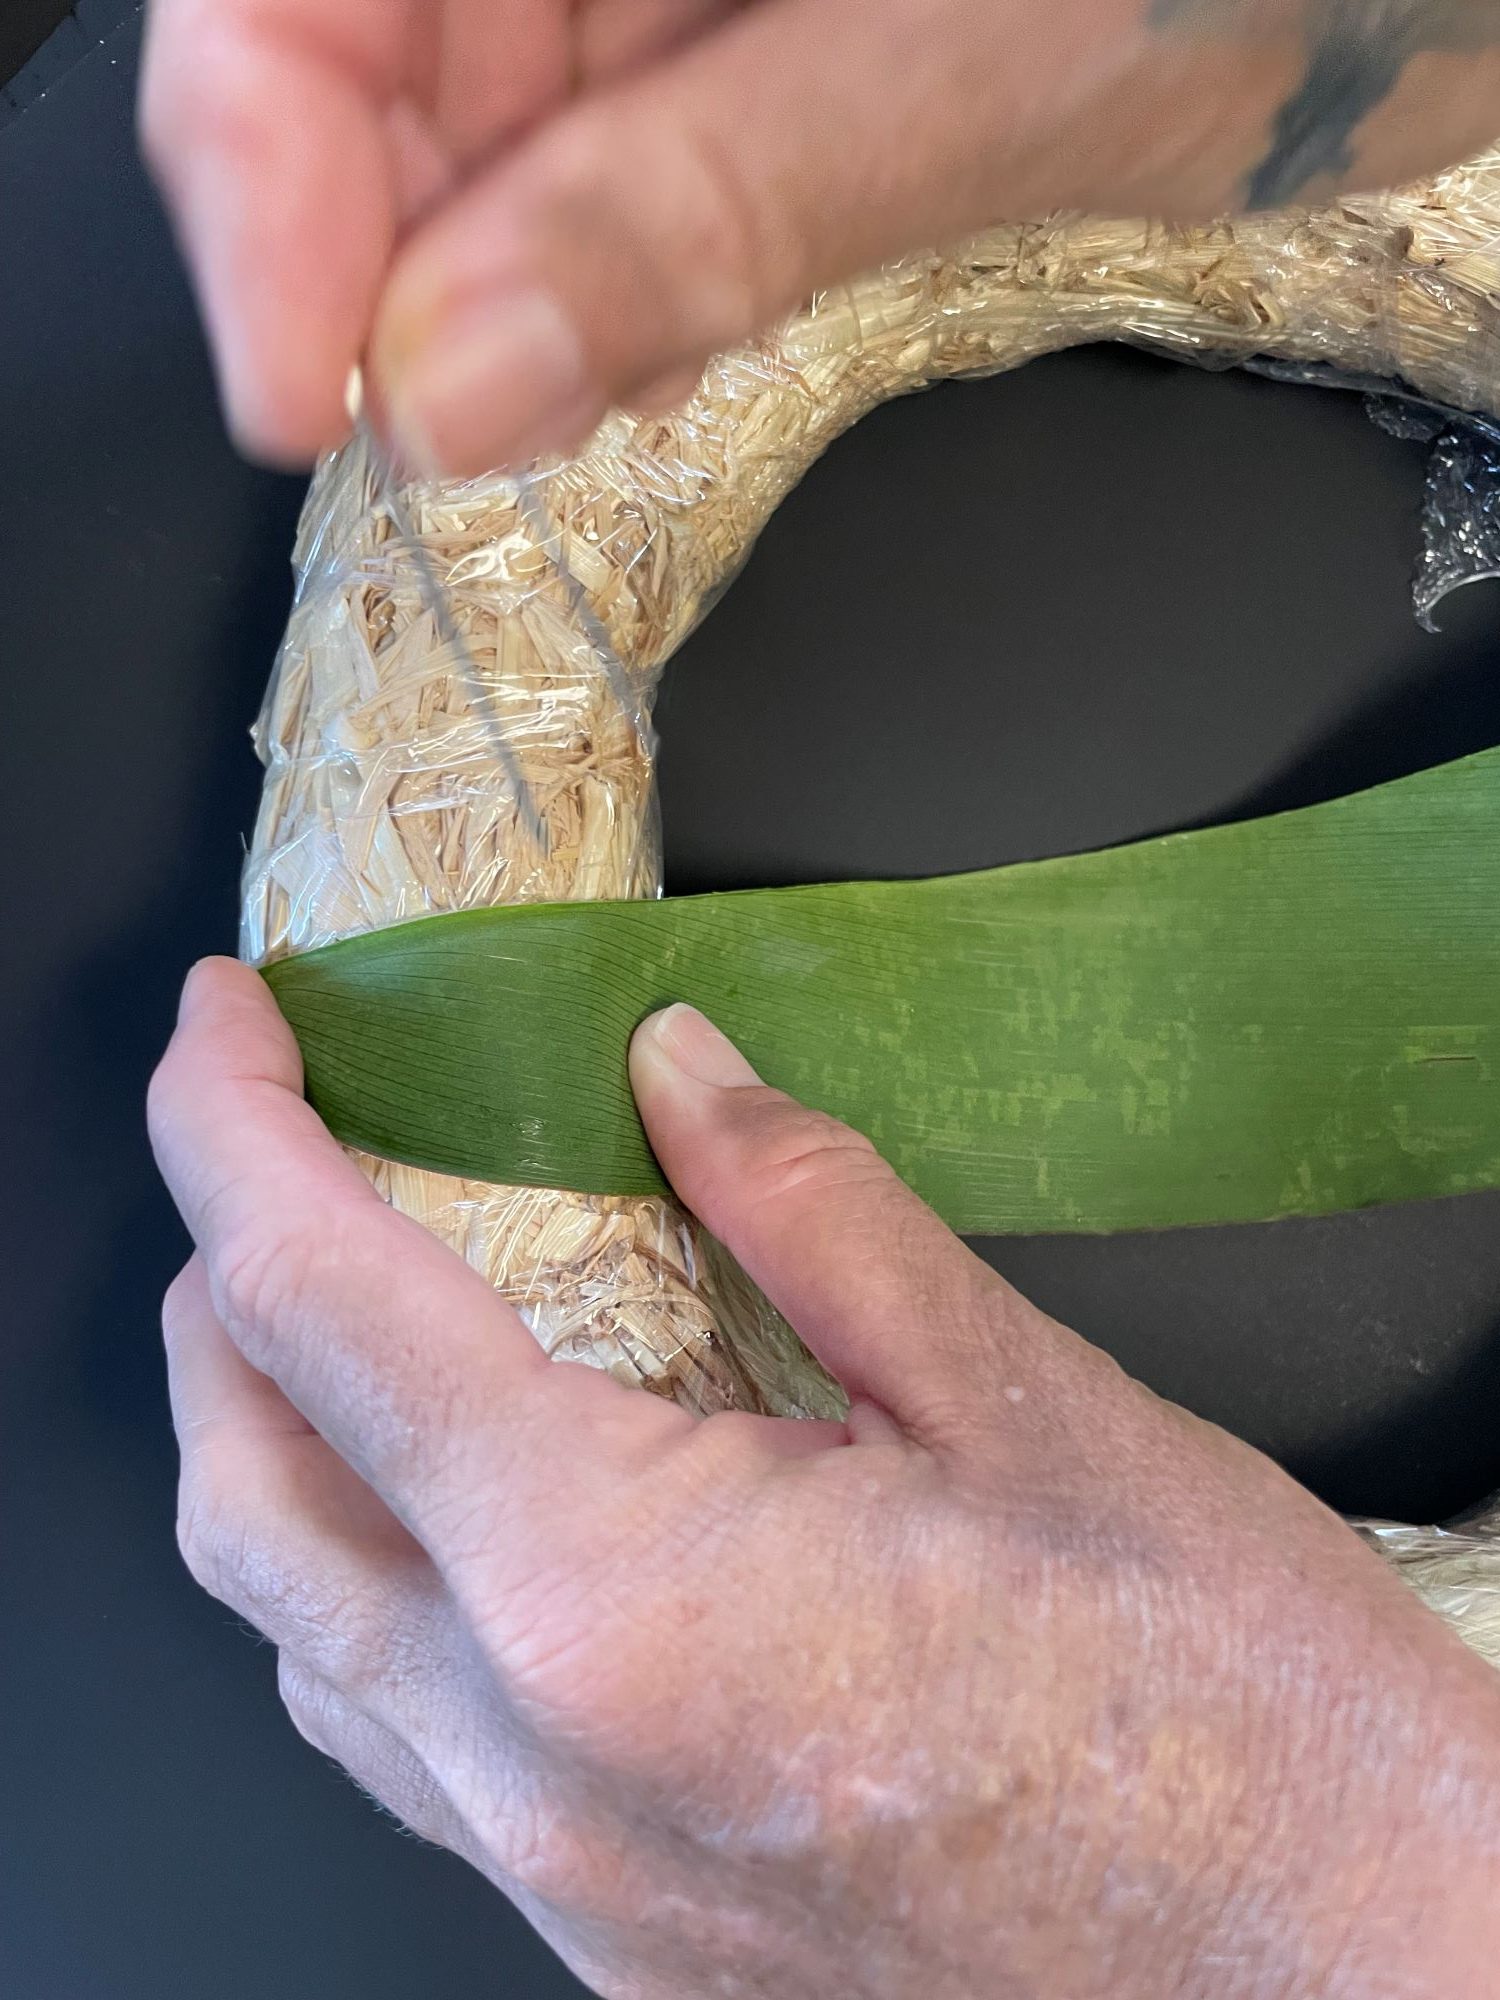
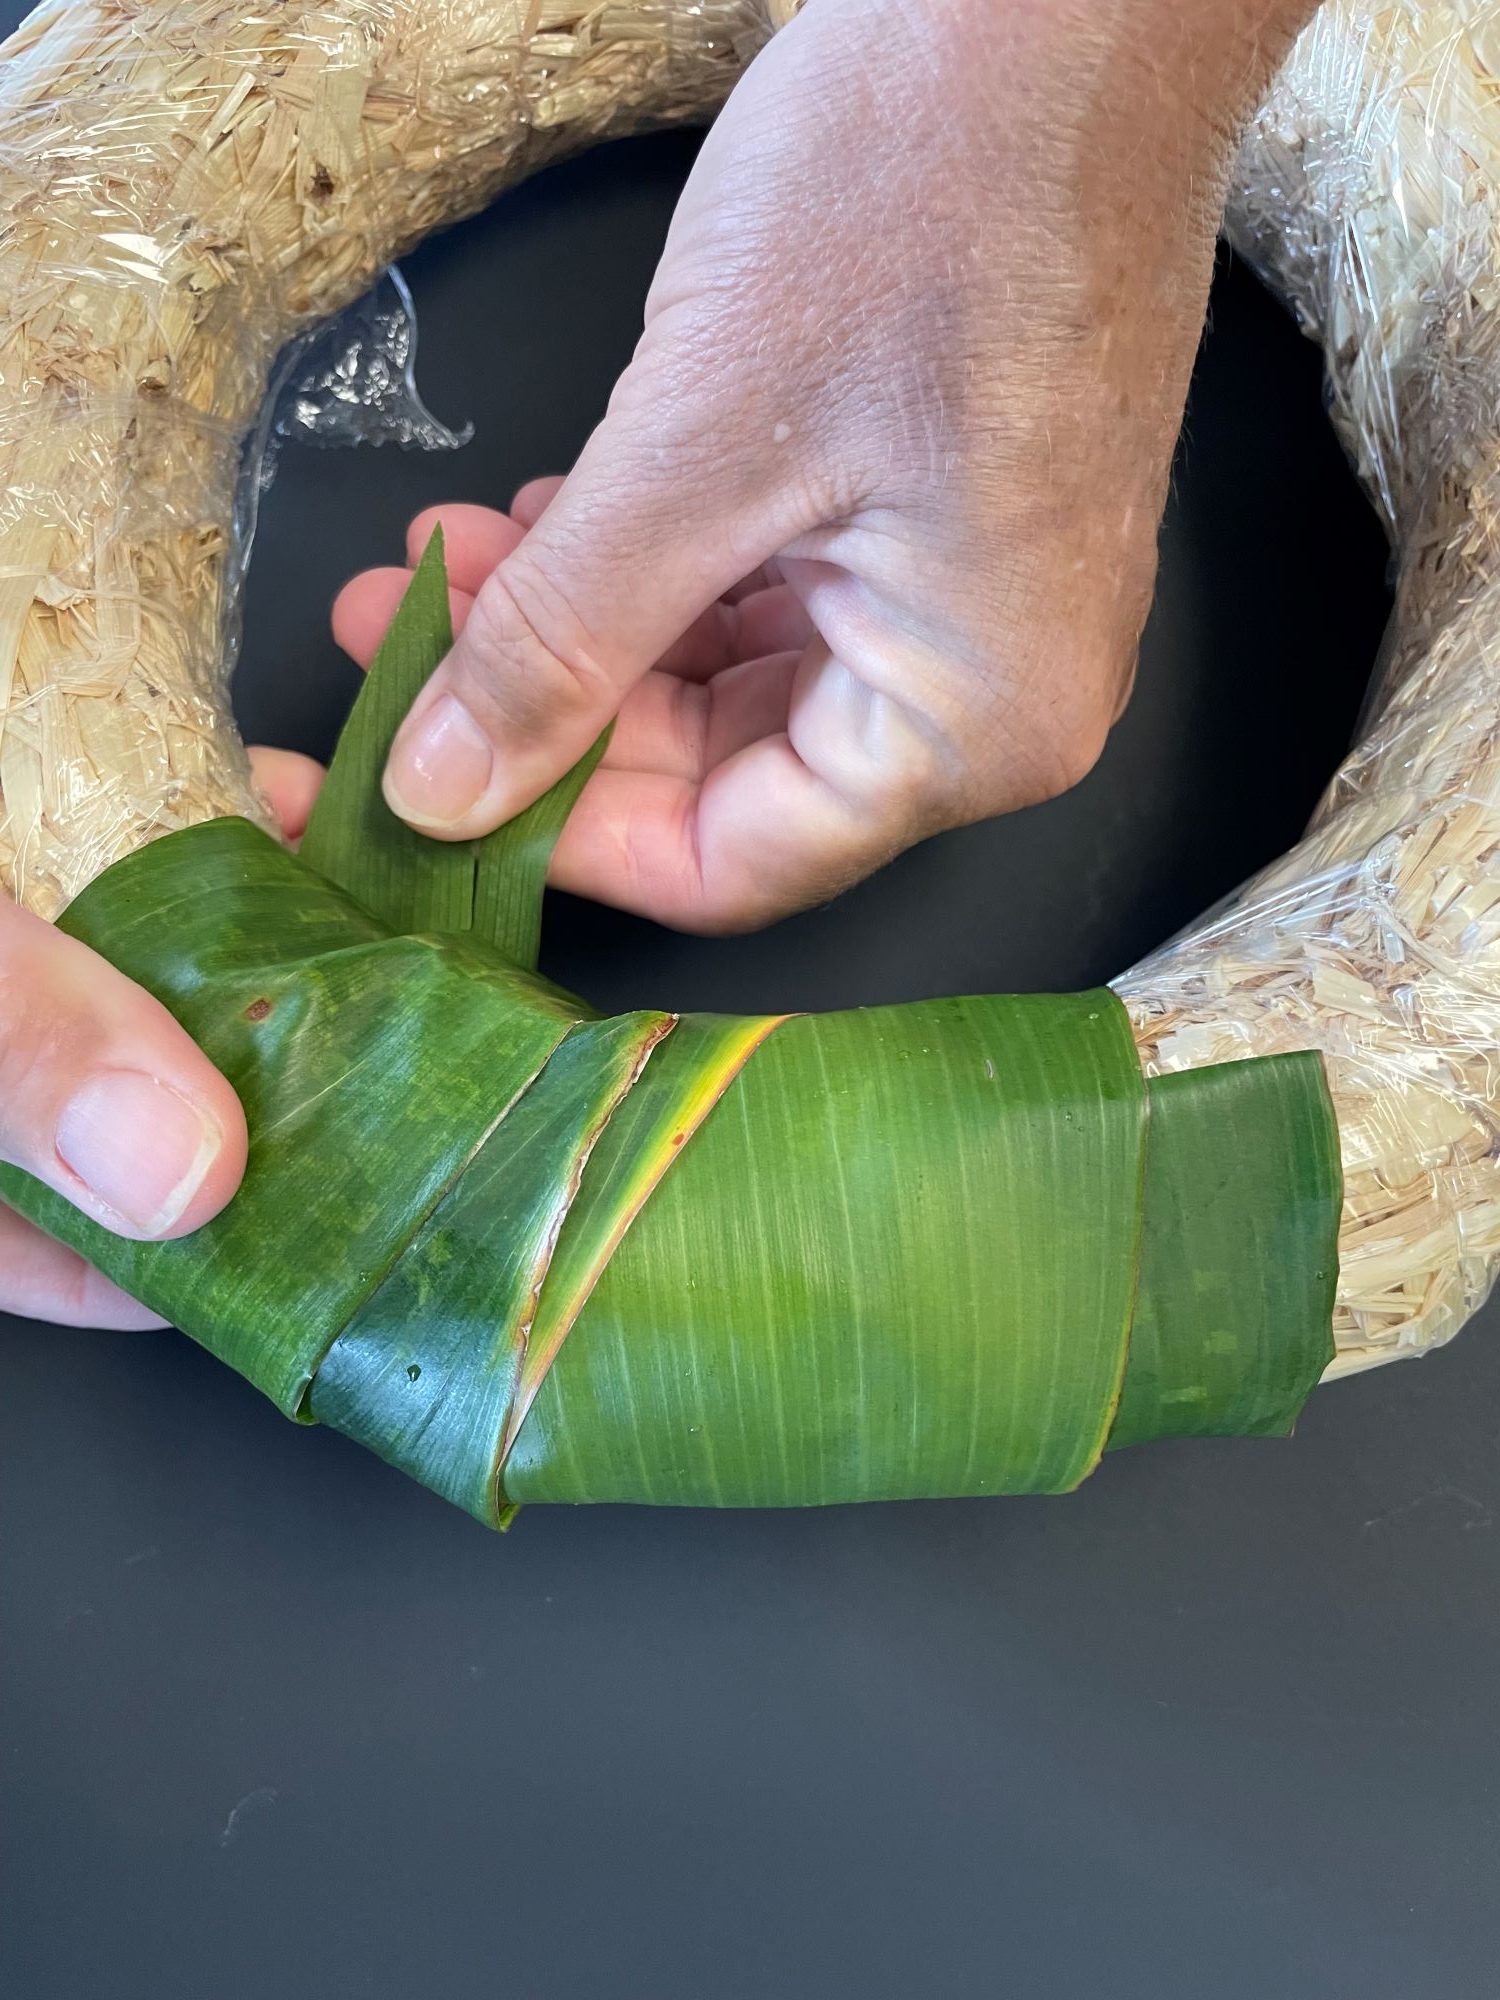
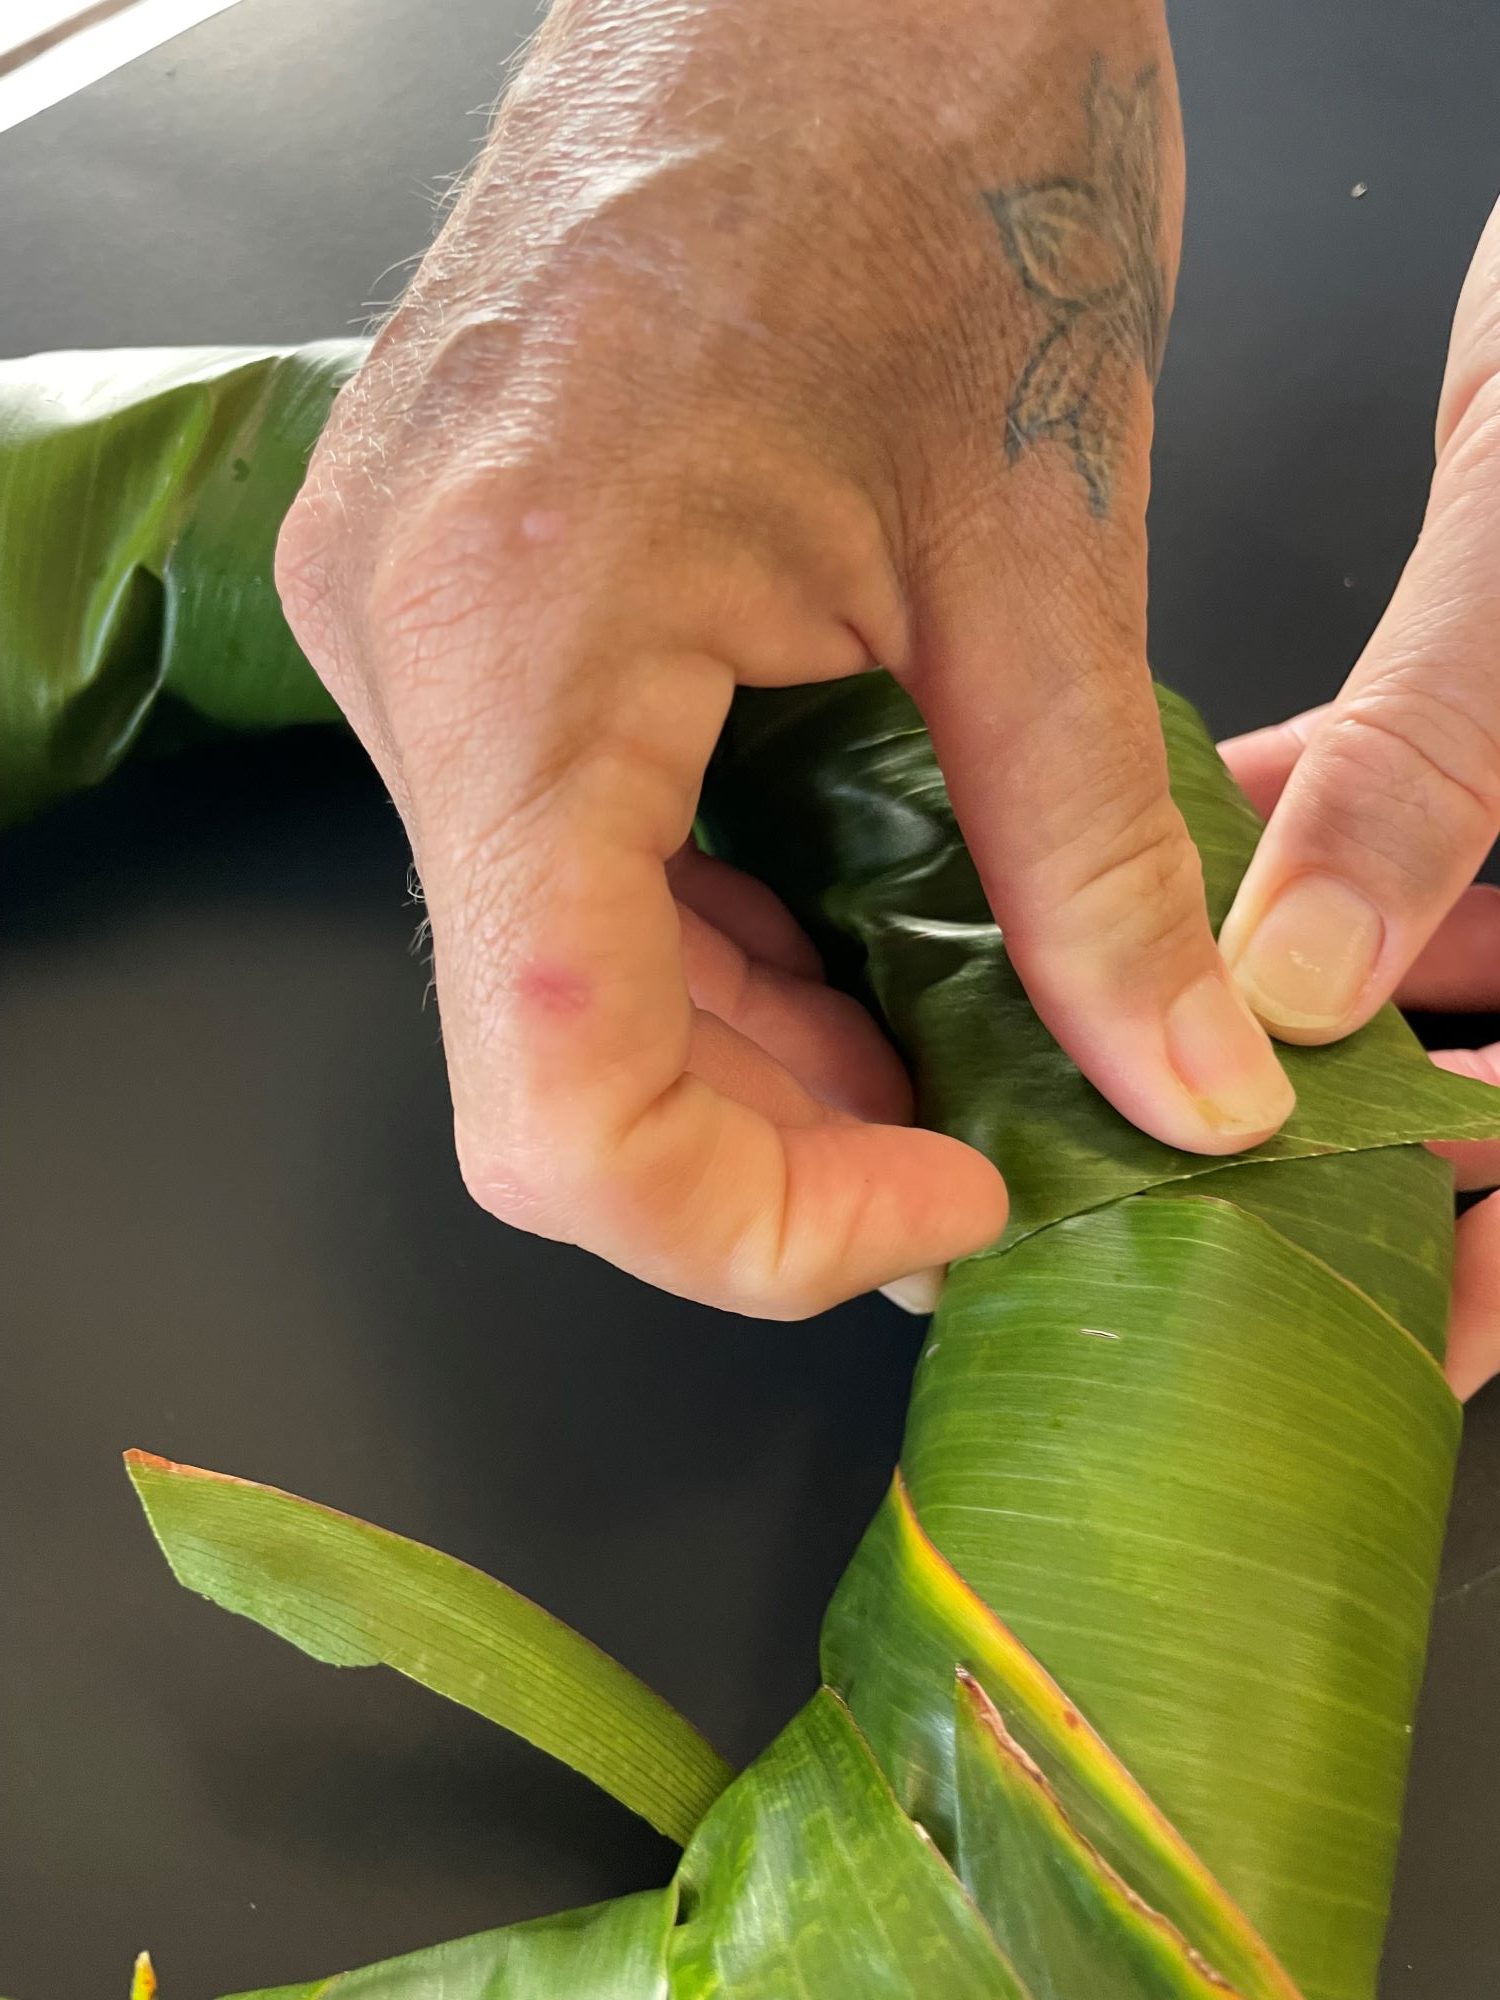
Prior to making your wreath, it’s best to wrap your form with ti leaf. This provides a consistent and green backdrop for good contrast with the your beautiful foliage design. First, you must prepare the ti leaf by cutting the midvein out to make halves. You will need to collect about 6-7 whole ti leaves to cover the wreath form. Once halved, you should wipe down both sides of the leaf. Roll up the leaves and place in a ziploc in the freezer for a day or two. Freezing makes the ti leaf more pliable so it shreds less. You can also microwave your leaves for a minute or two.
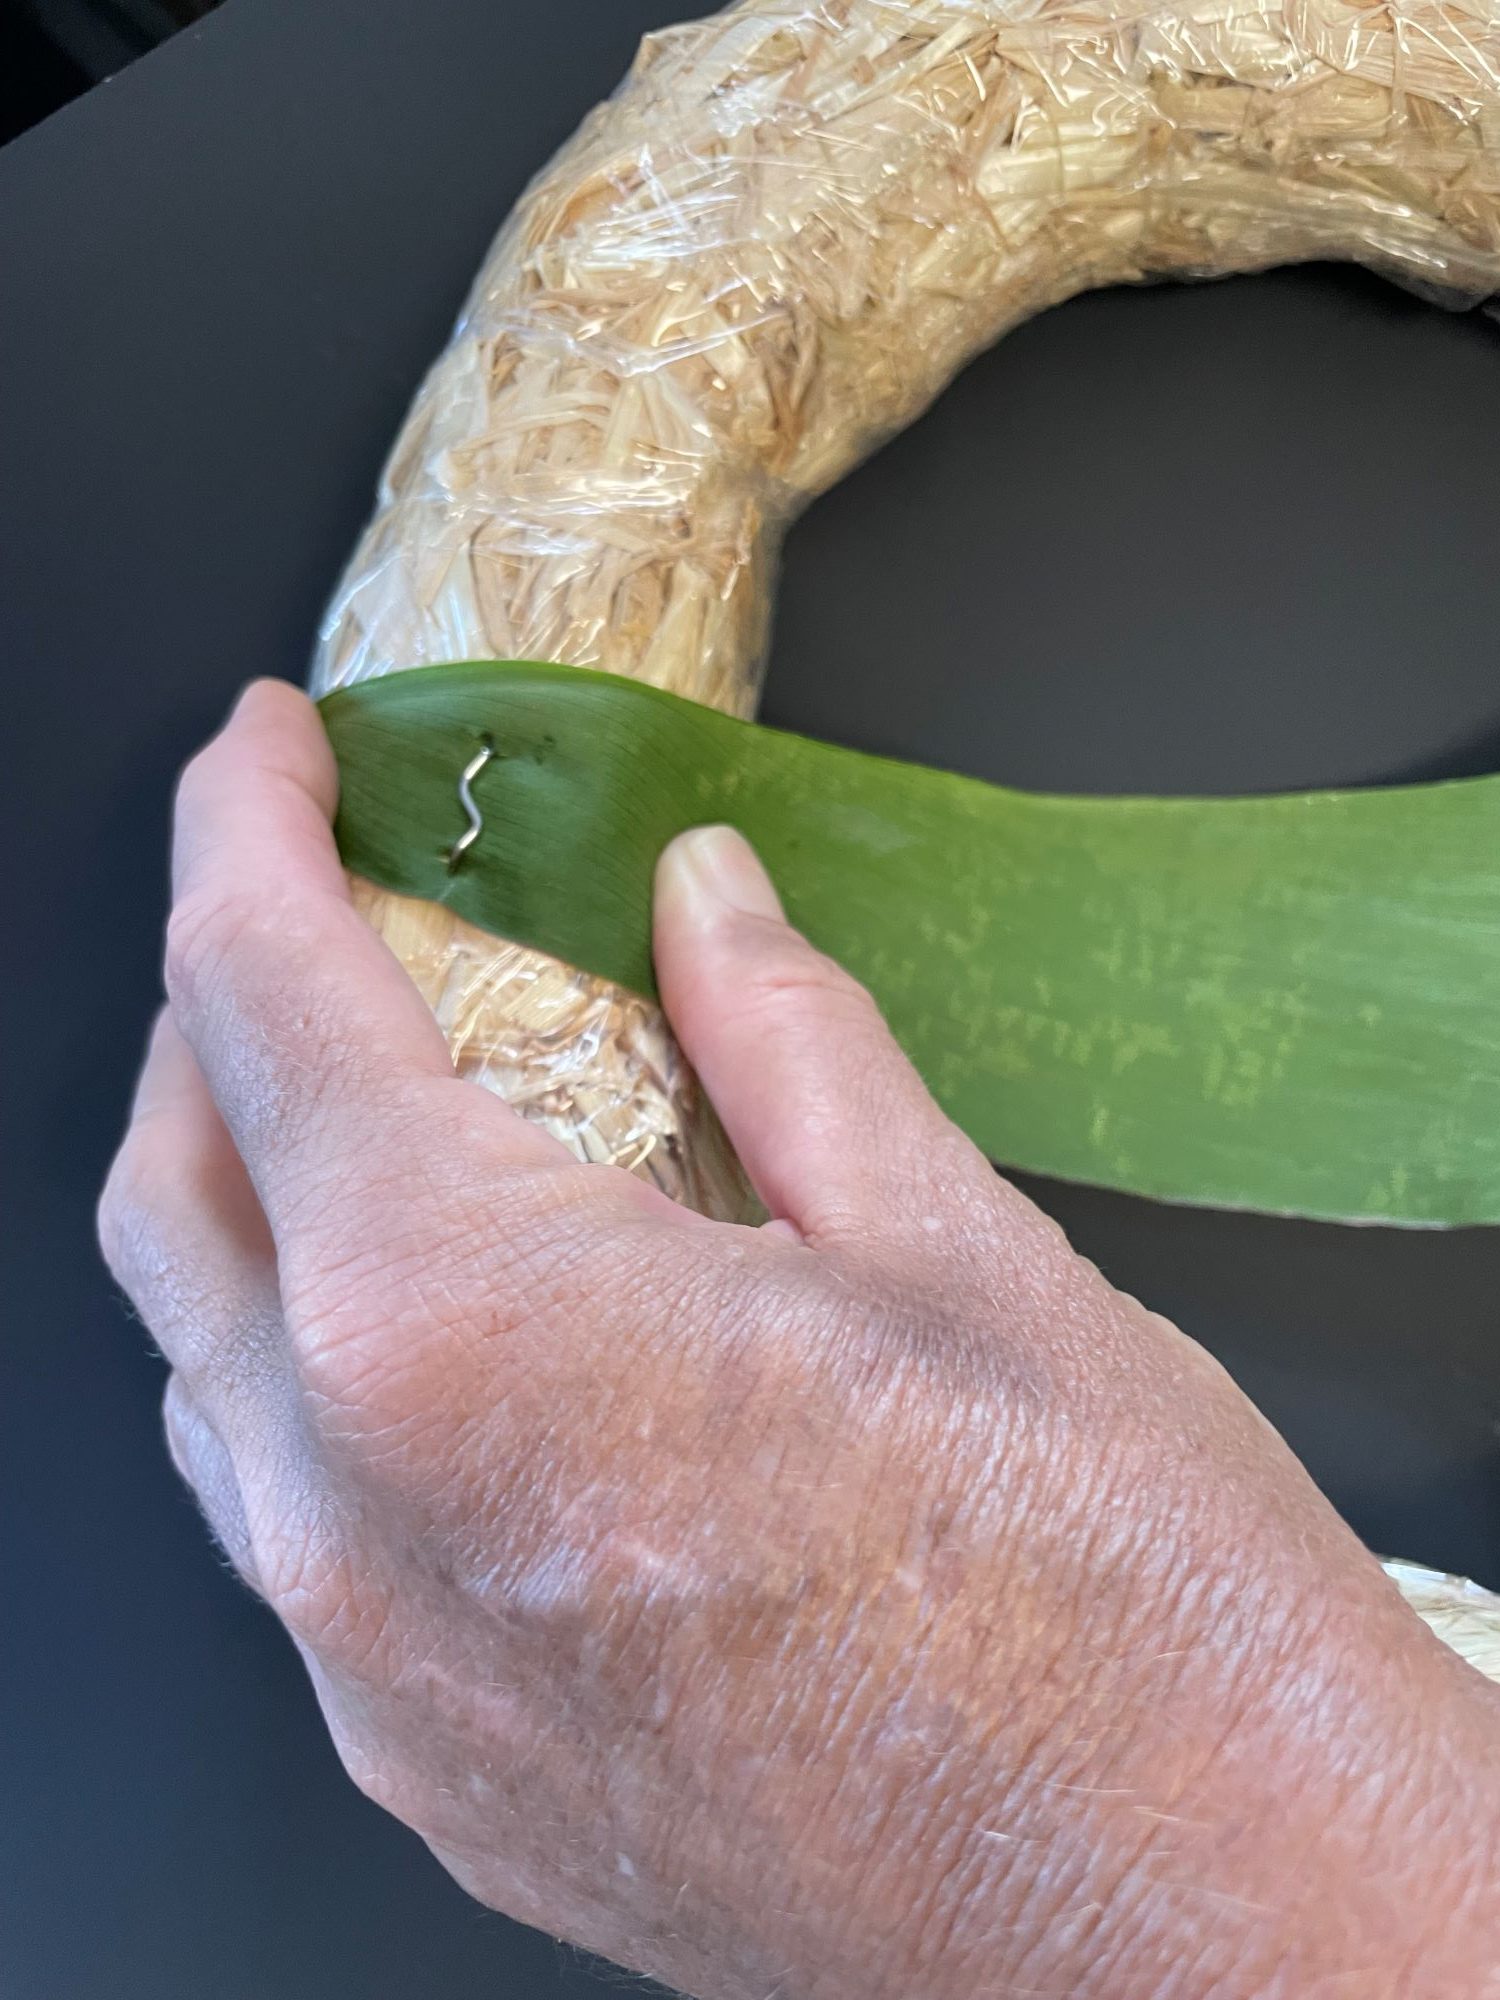
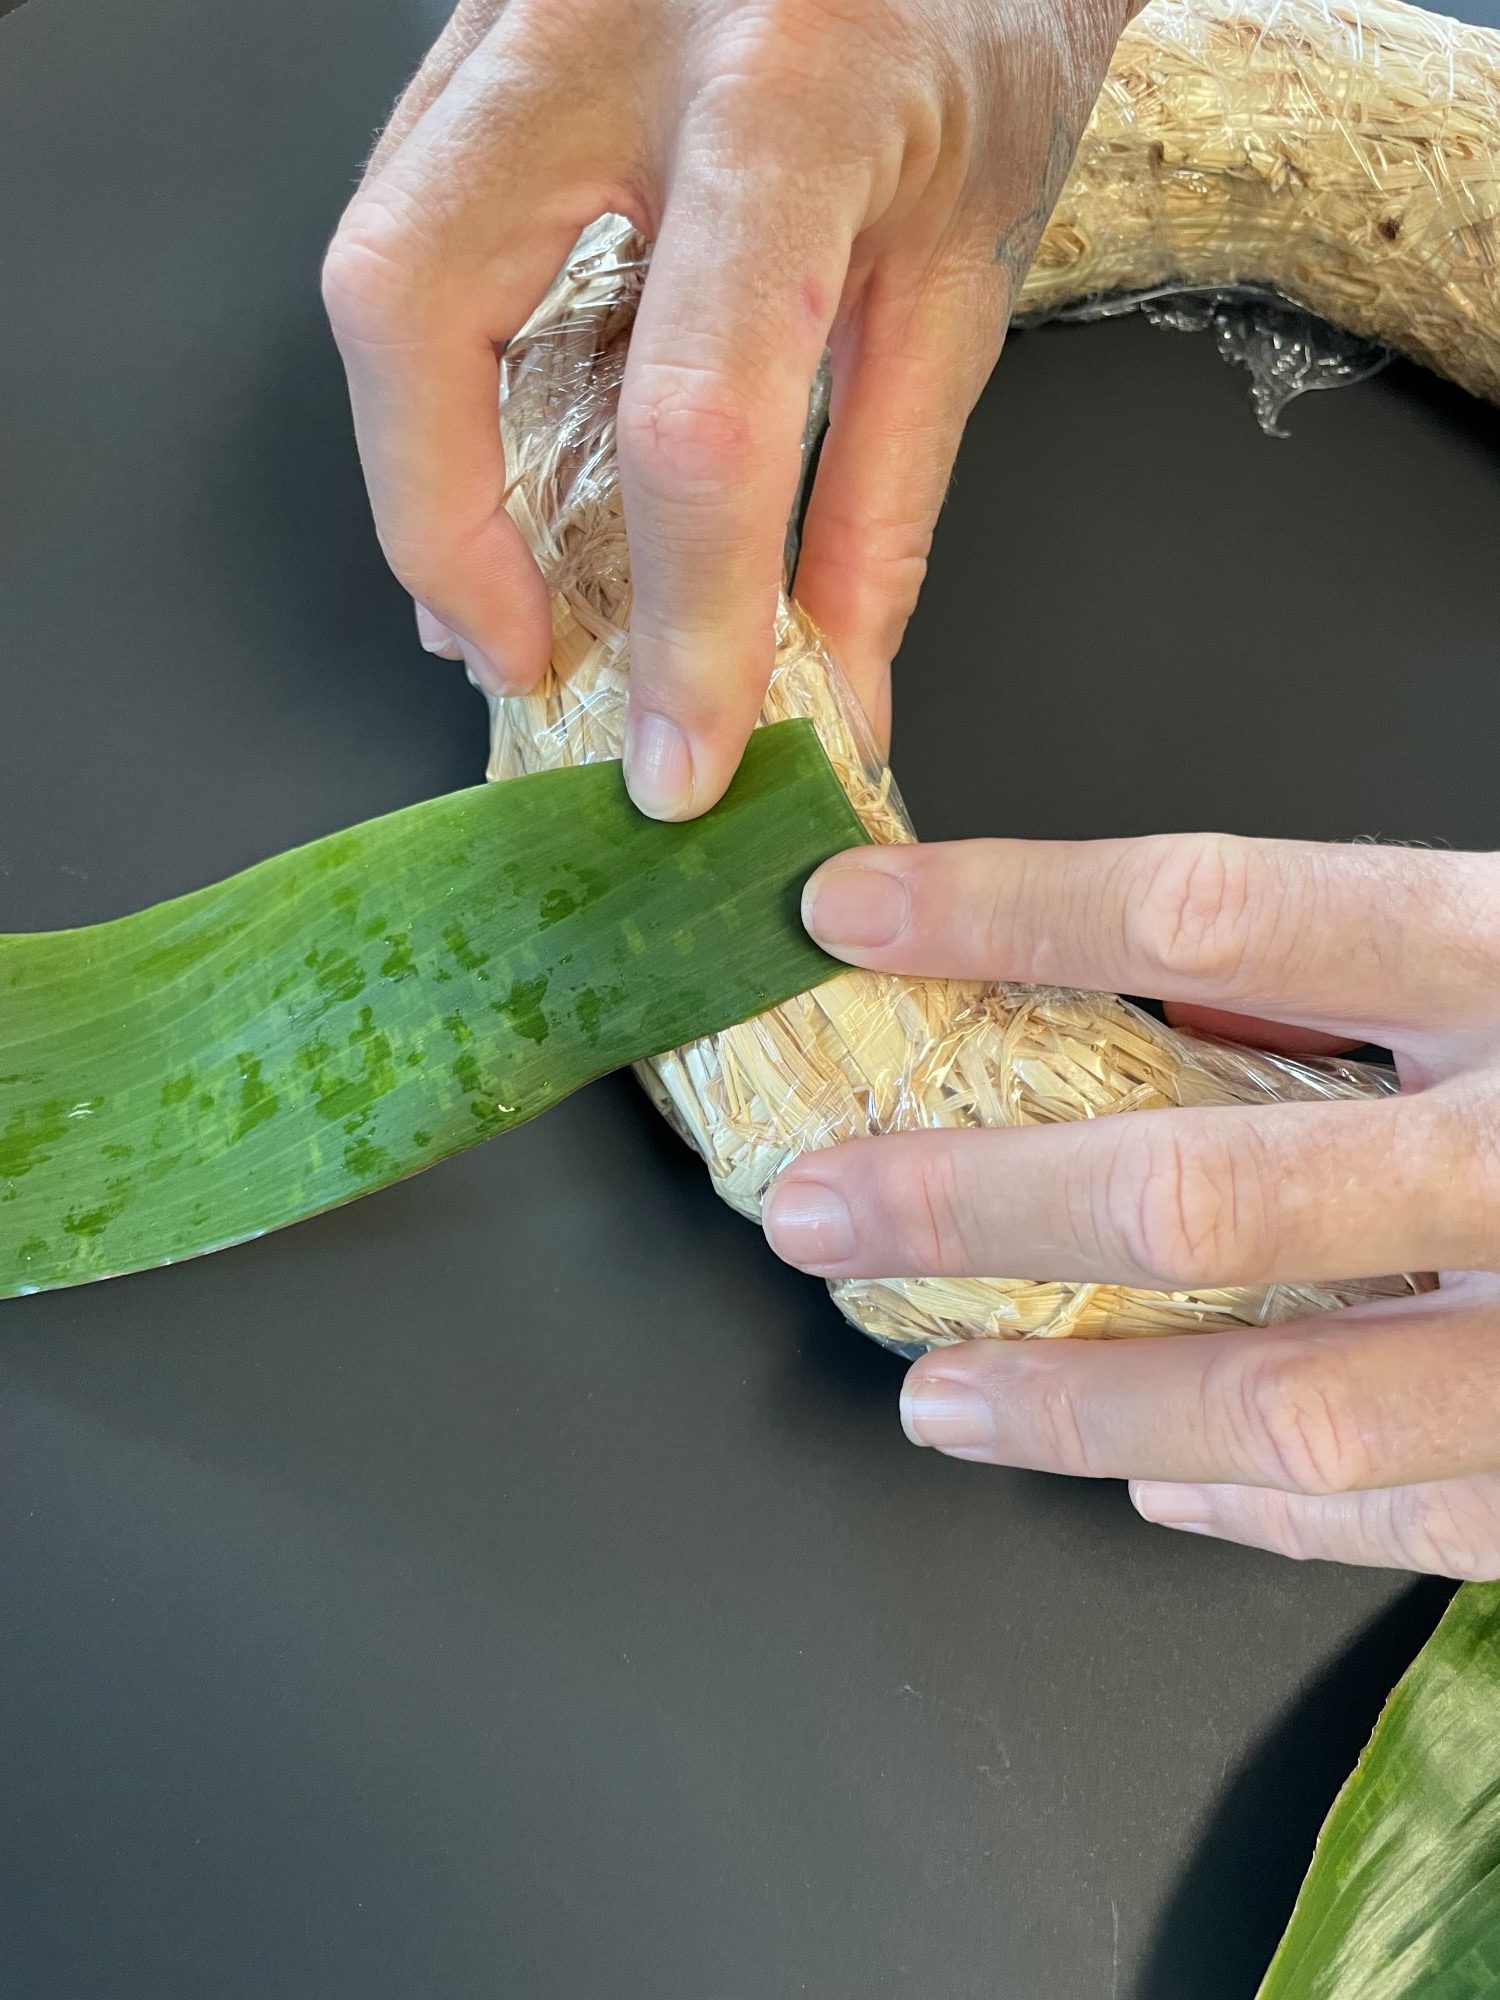
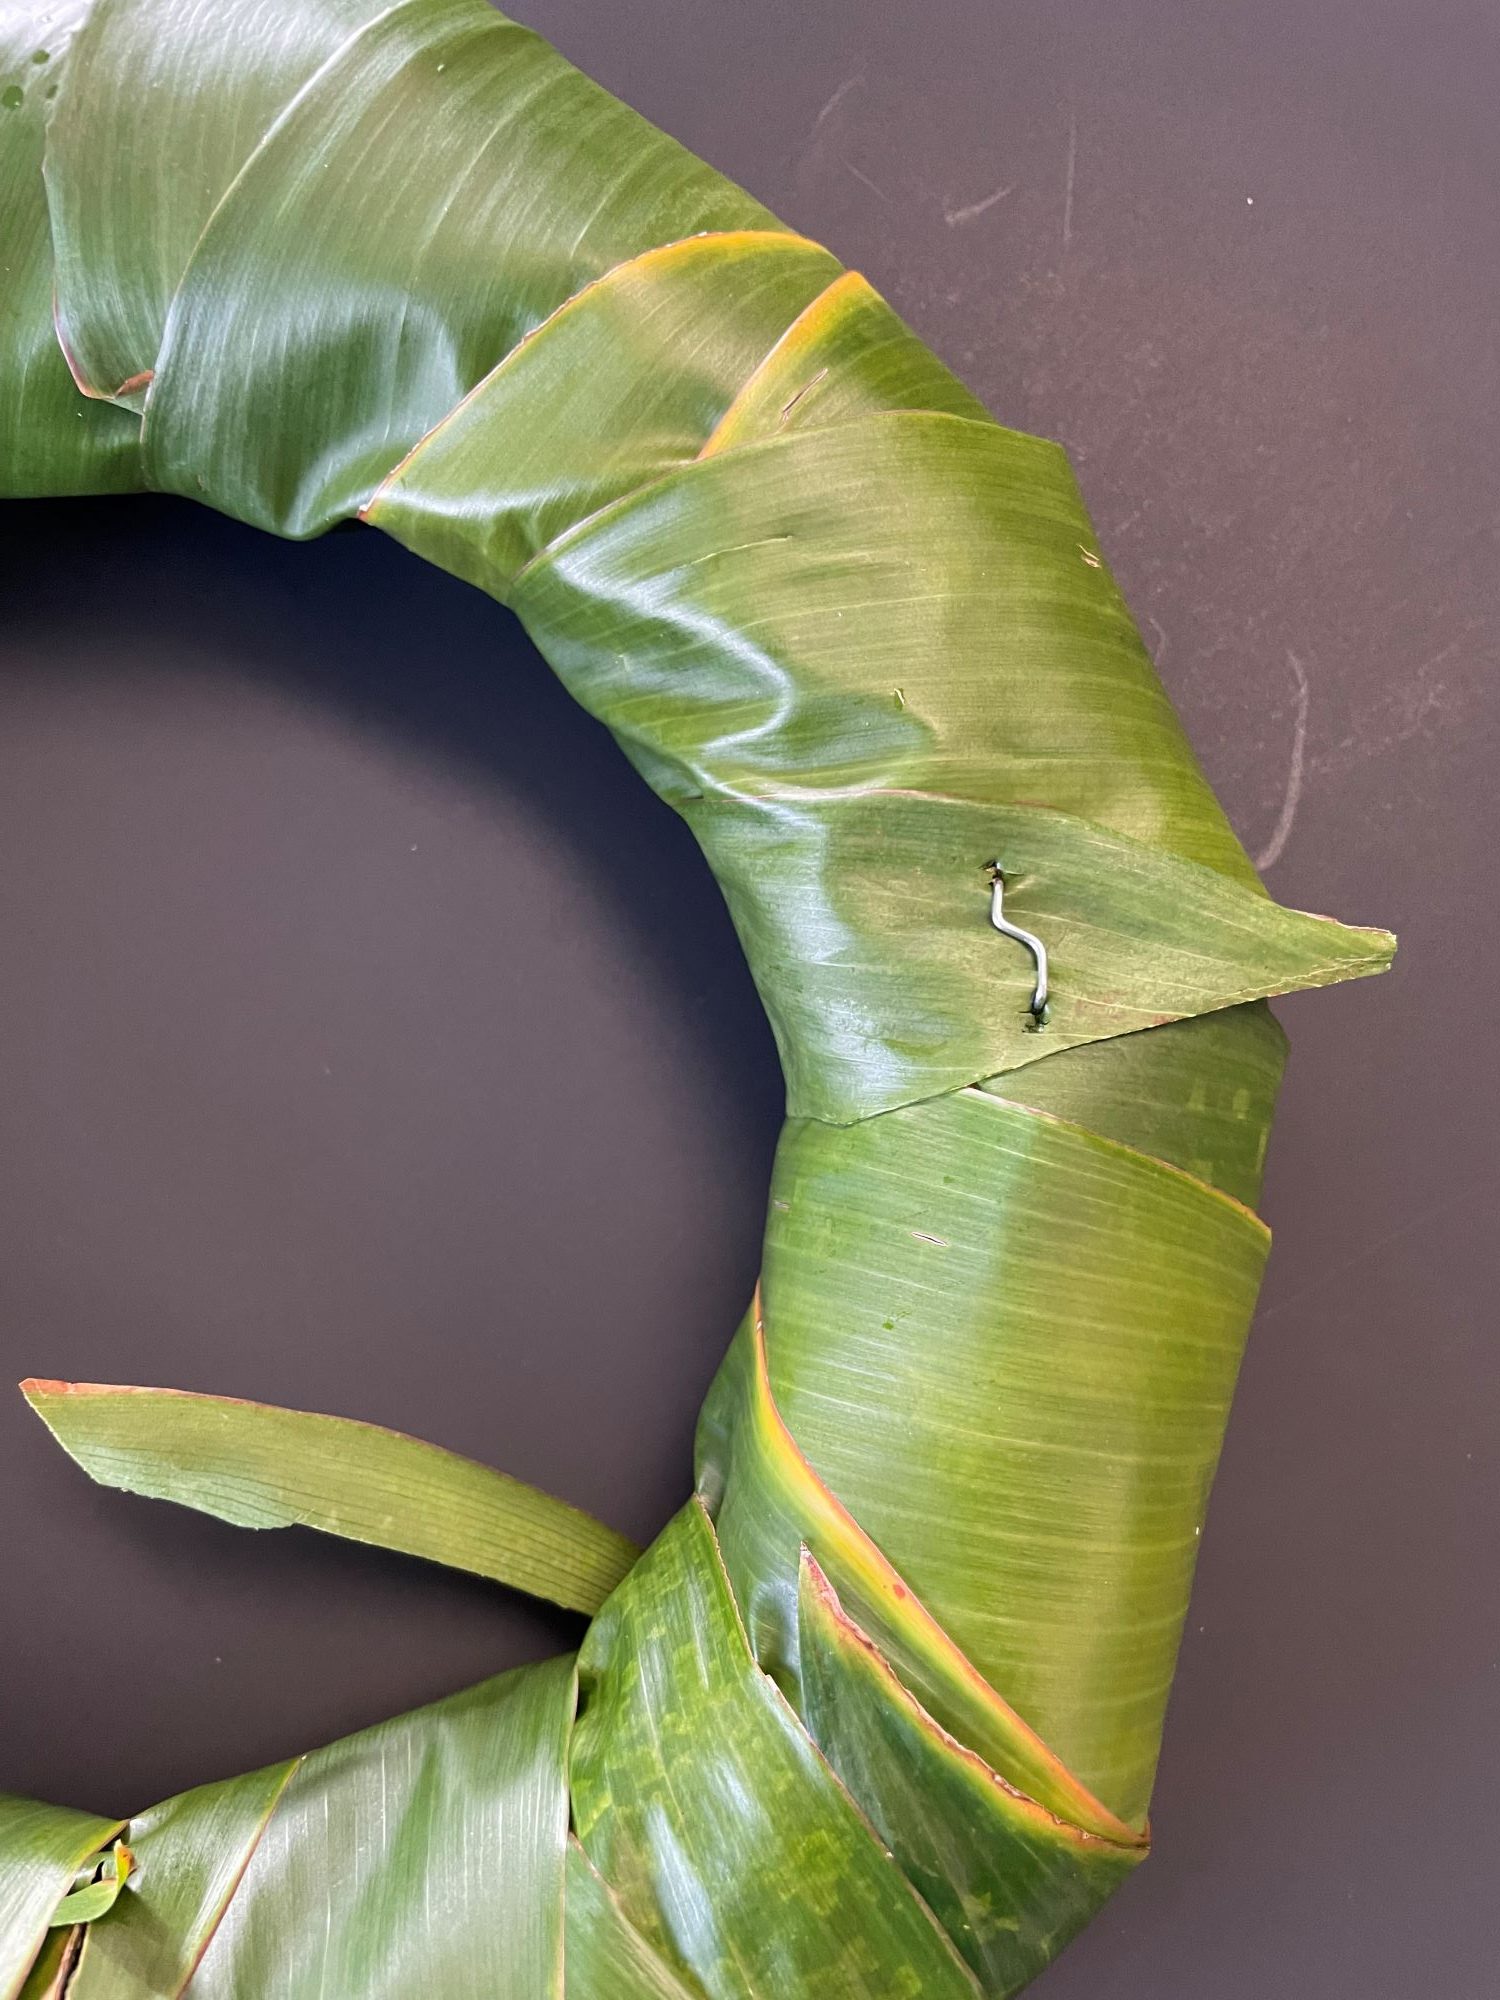
Next, you will need to wrap the leaves around the form. Click through the gallery below to see how it’s done. Essentially, you pin down the first leaf tip with the shiny side facing down. Then, you’ll flip the leaf over so the shiny side is up and continue to wrap. When you add additional leaves, make sure the leaf tip of the new leaf is under the tip of the previous leaf to lock the previous leaf into place. Make sure the “natural edge” of the ti leaf is the one showing, while the “cut edge” is hidden when wrapped. Continue until the form is covered and then place a pin on the last leaf tip to finish.
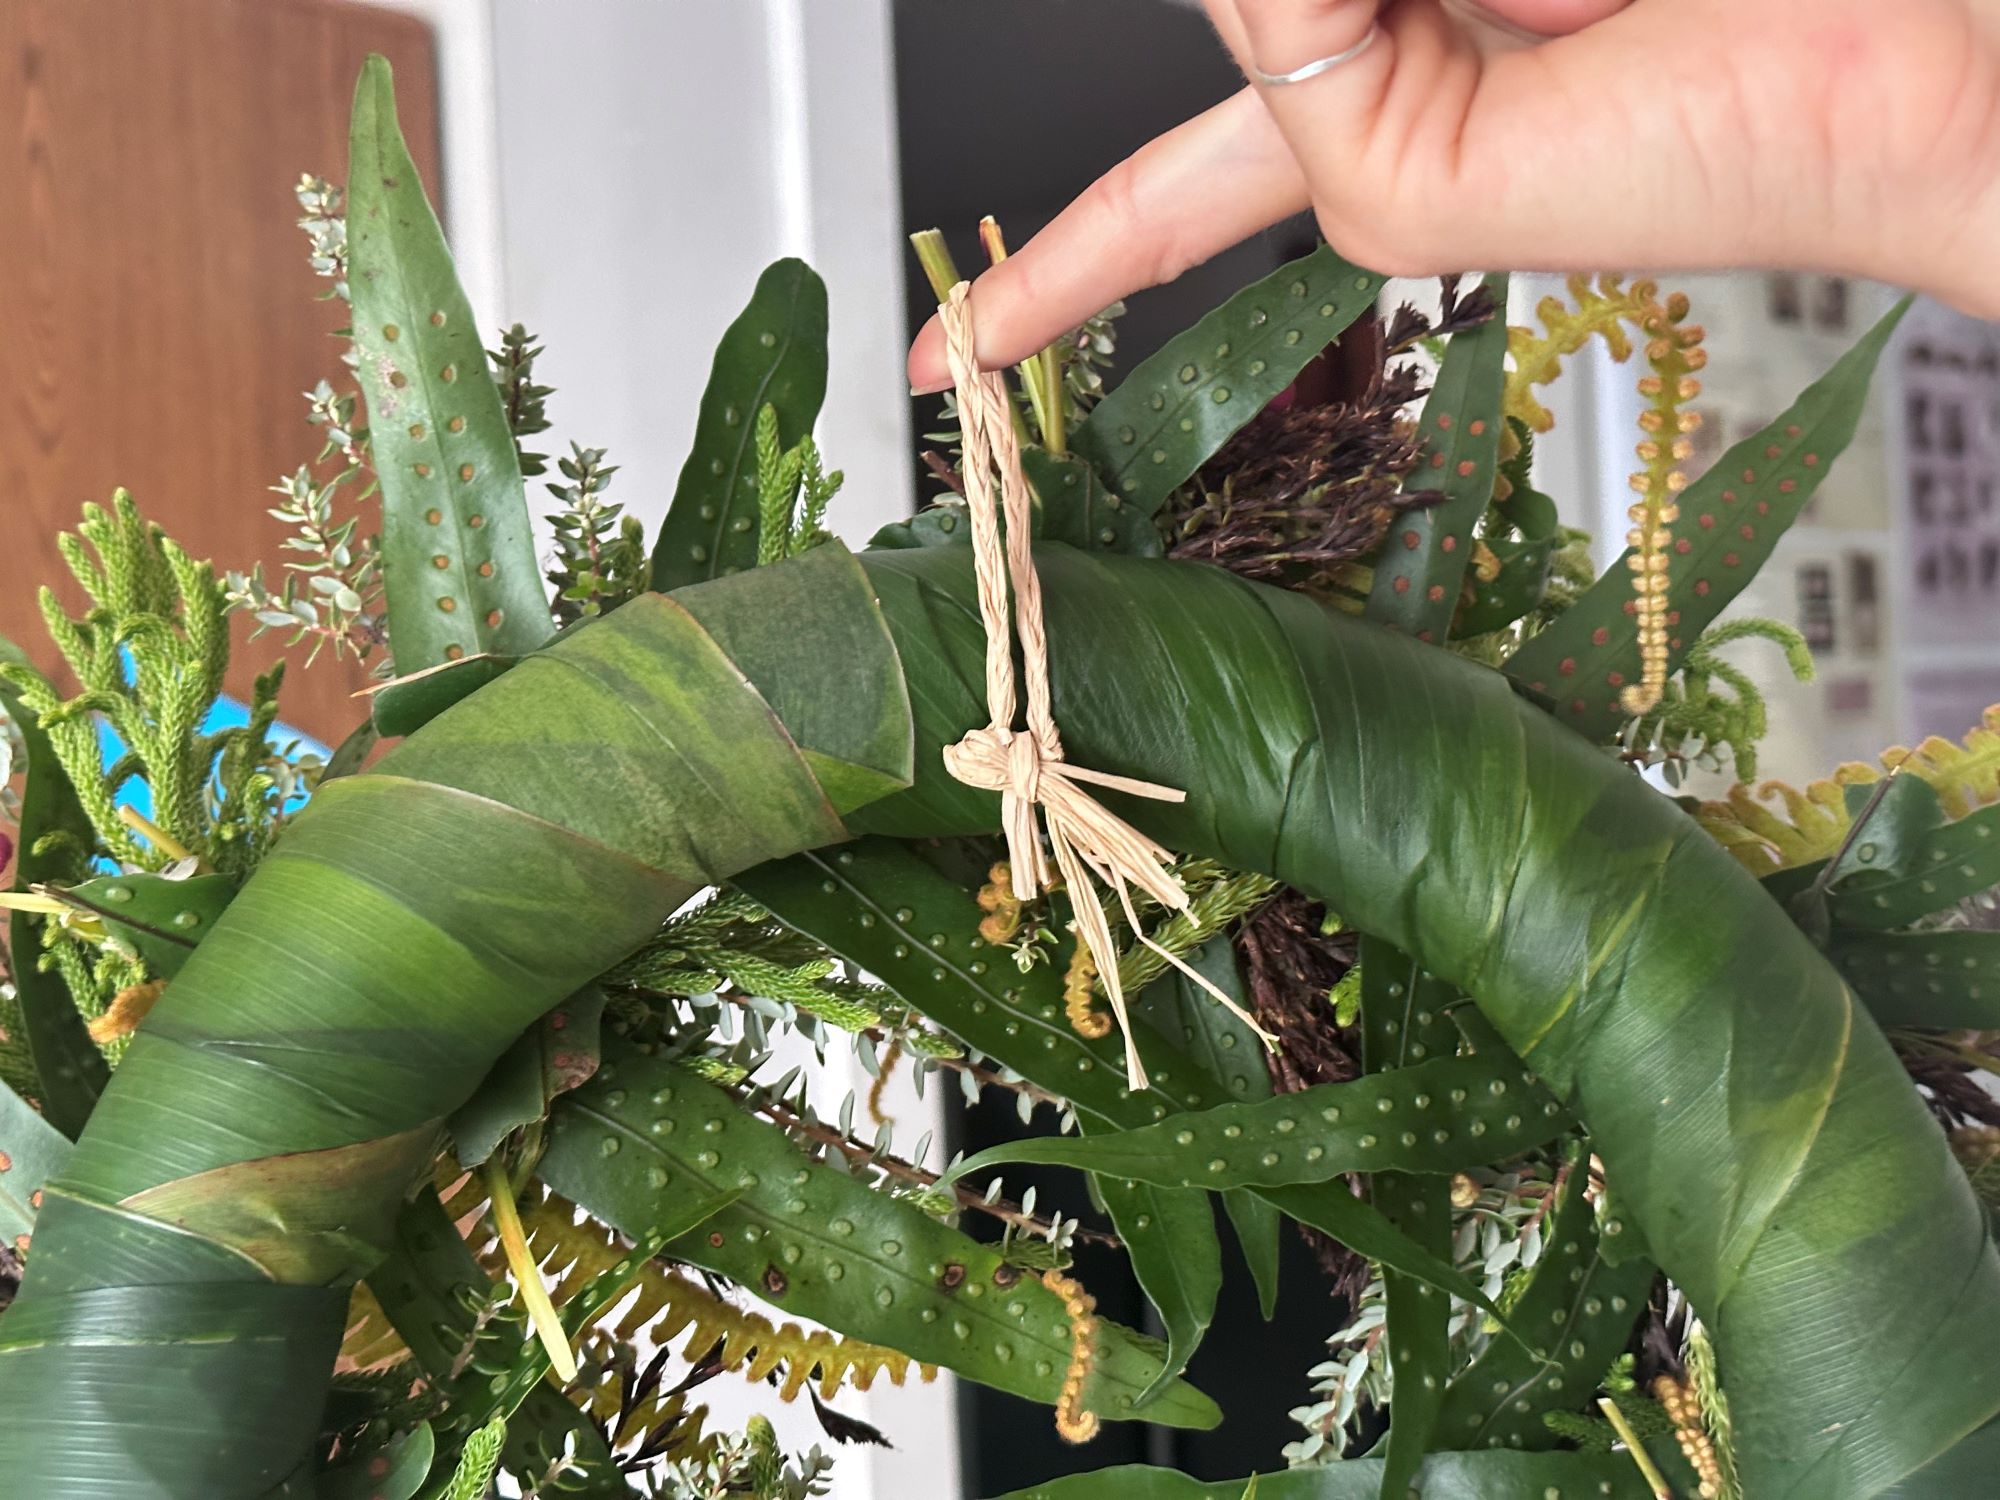
Once the form is completely covered, you will need to form the loop on the back to hang your wreath onto a wall. First, cut three pieces of raffia about 10 inches long. Line up the three pieces and make a knot at the top to hold them together. Then, make a three-strand braid with your raffia and finish it with another knot at the bottom. Form the braided strands into a loop and fasten the loop onto the back of the wreath form with a greening pin.
8. Design the look of your wreath
You can work with wide (>7 stems) or fine bundles (<4) of foliage depending on how intricate you want your design to be. The smaller the bundles, the longer the design will take to apply. You can also cut your foliage to different lengths. Short bundles make fuller wreaths because you need to apply more bundles to cover the form. Longer bundles require less foliage and can add drama to the final look. Feel free to mix and match too!
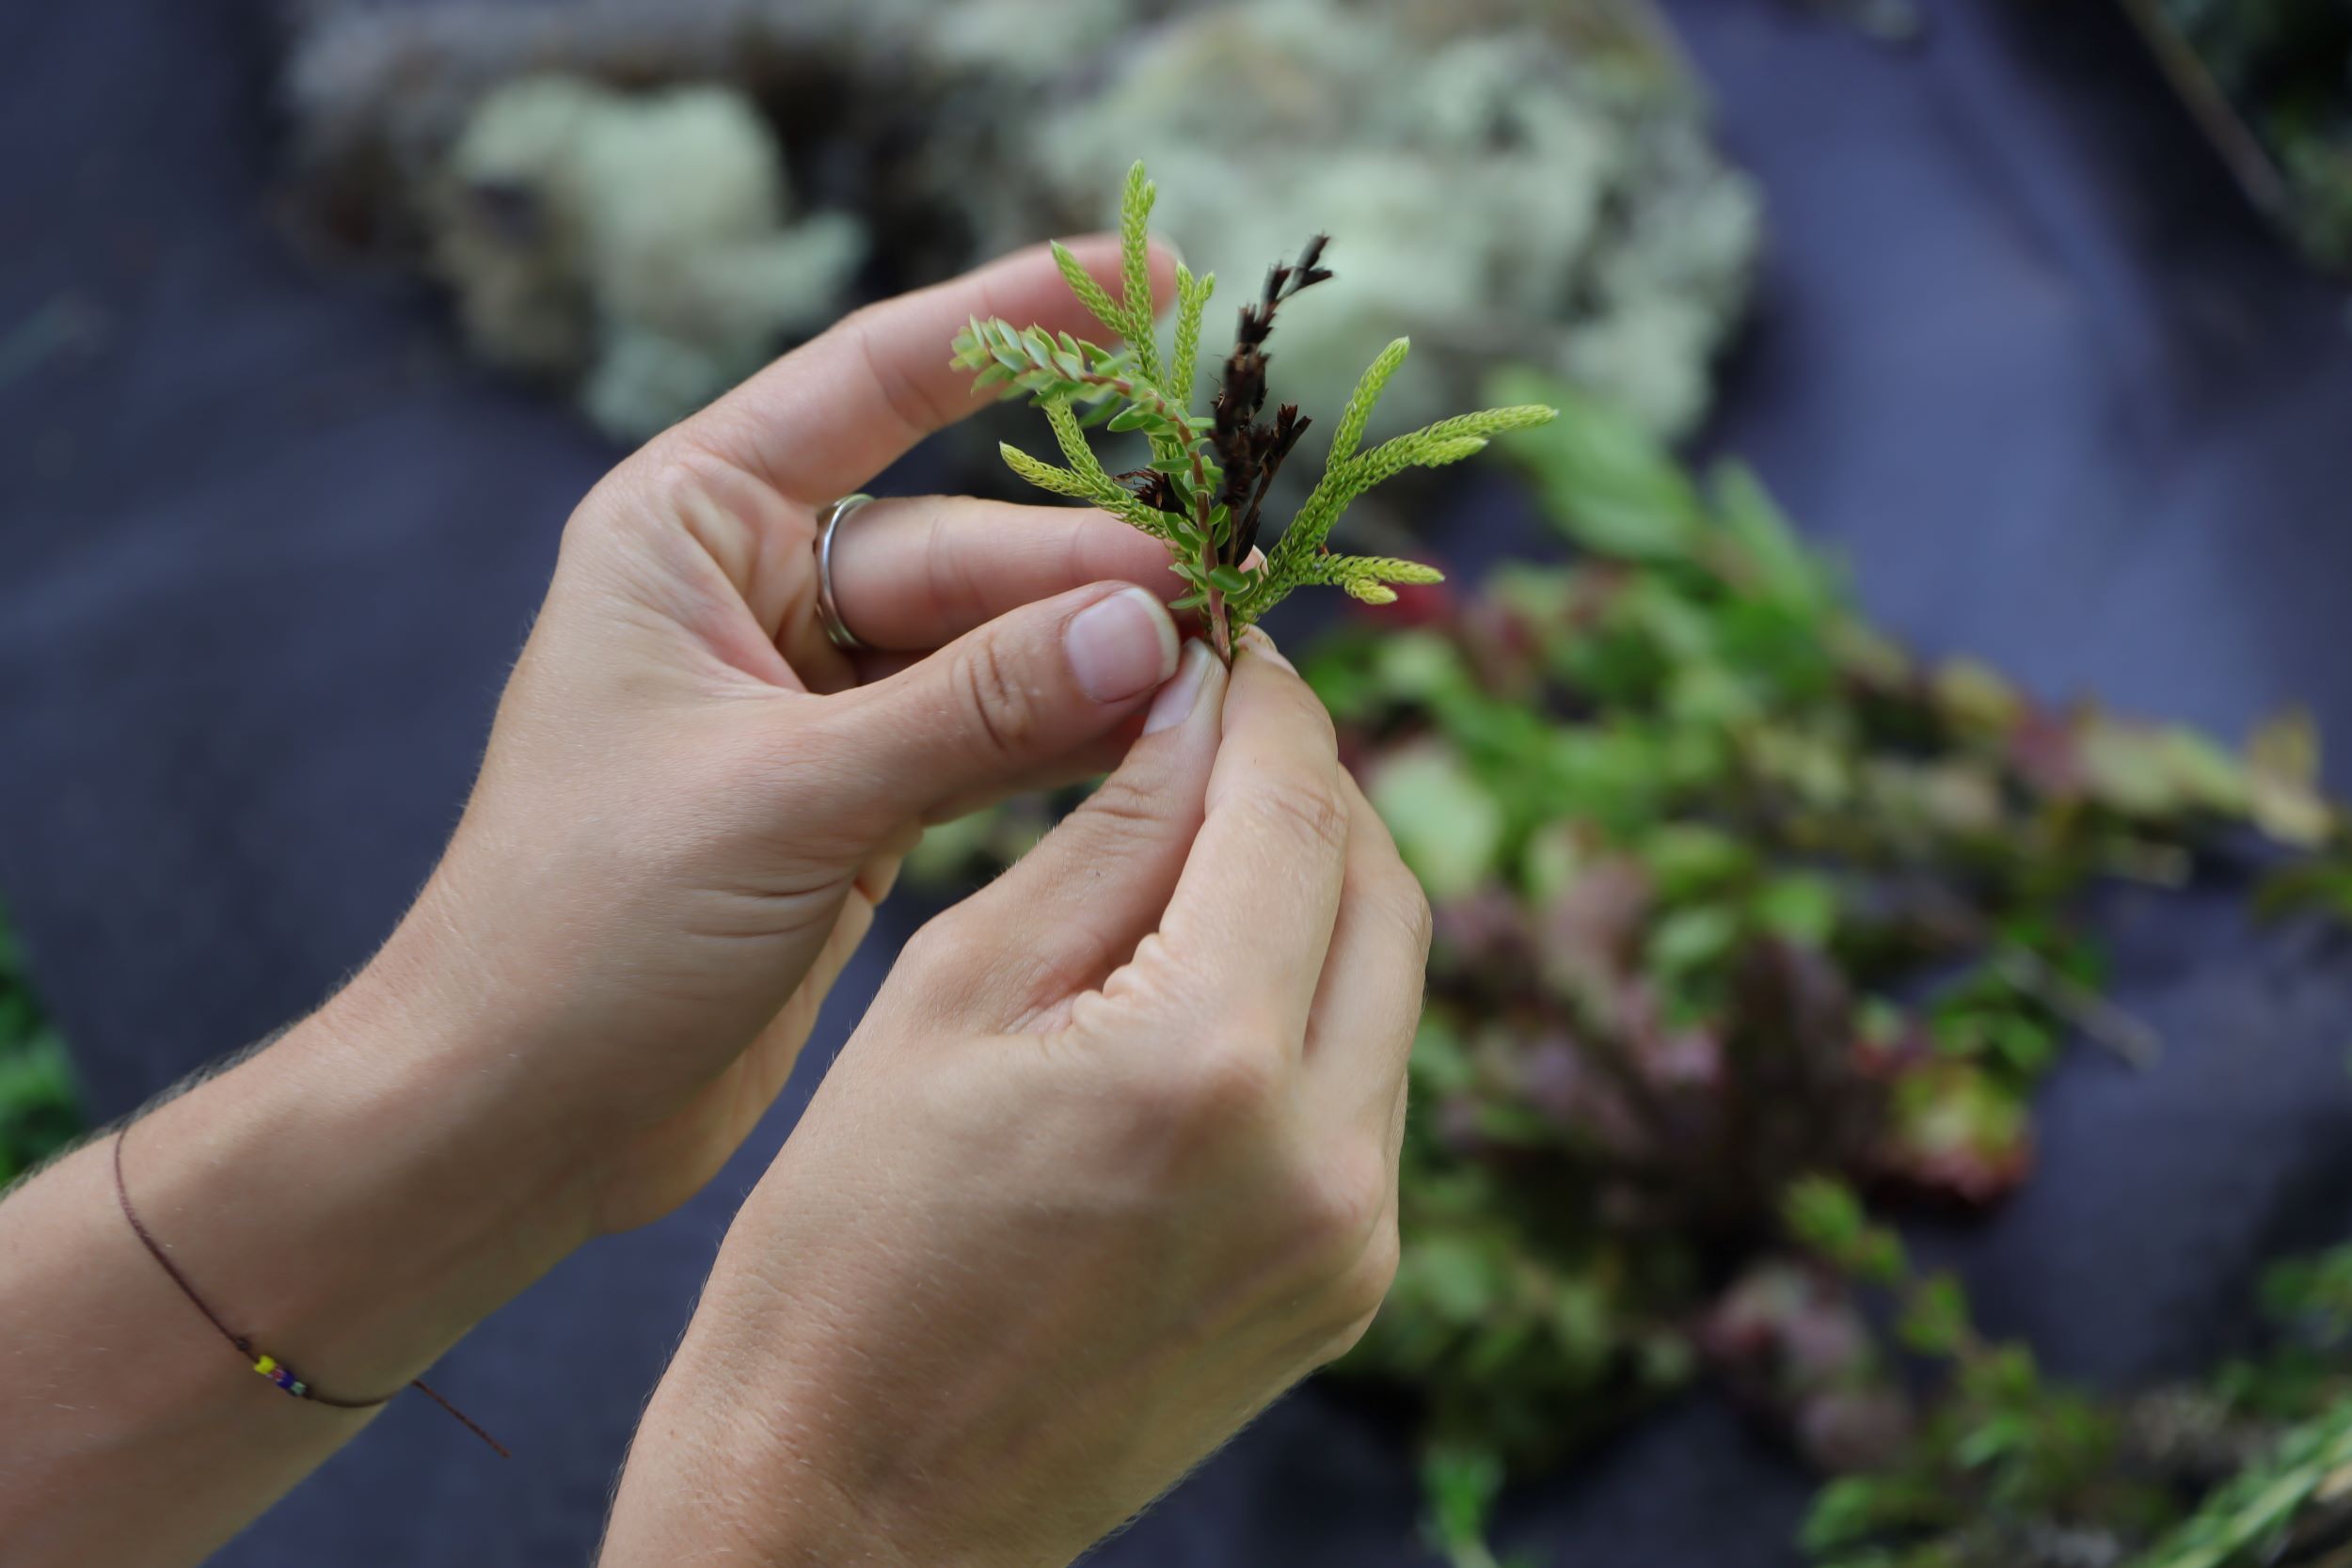
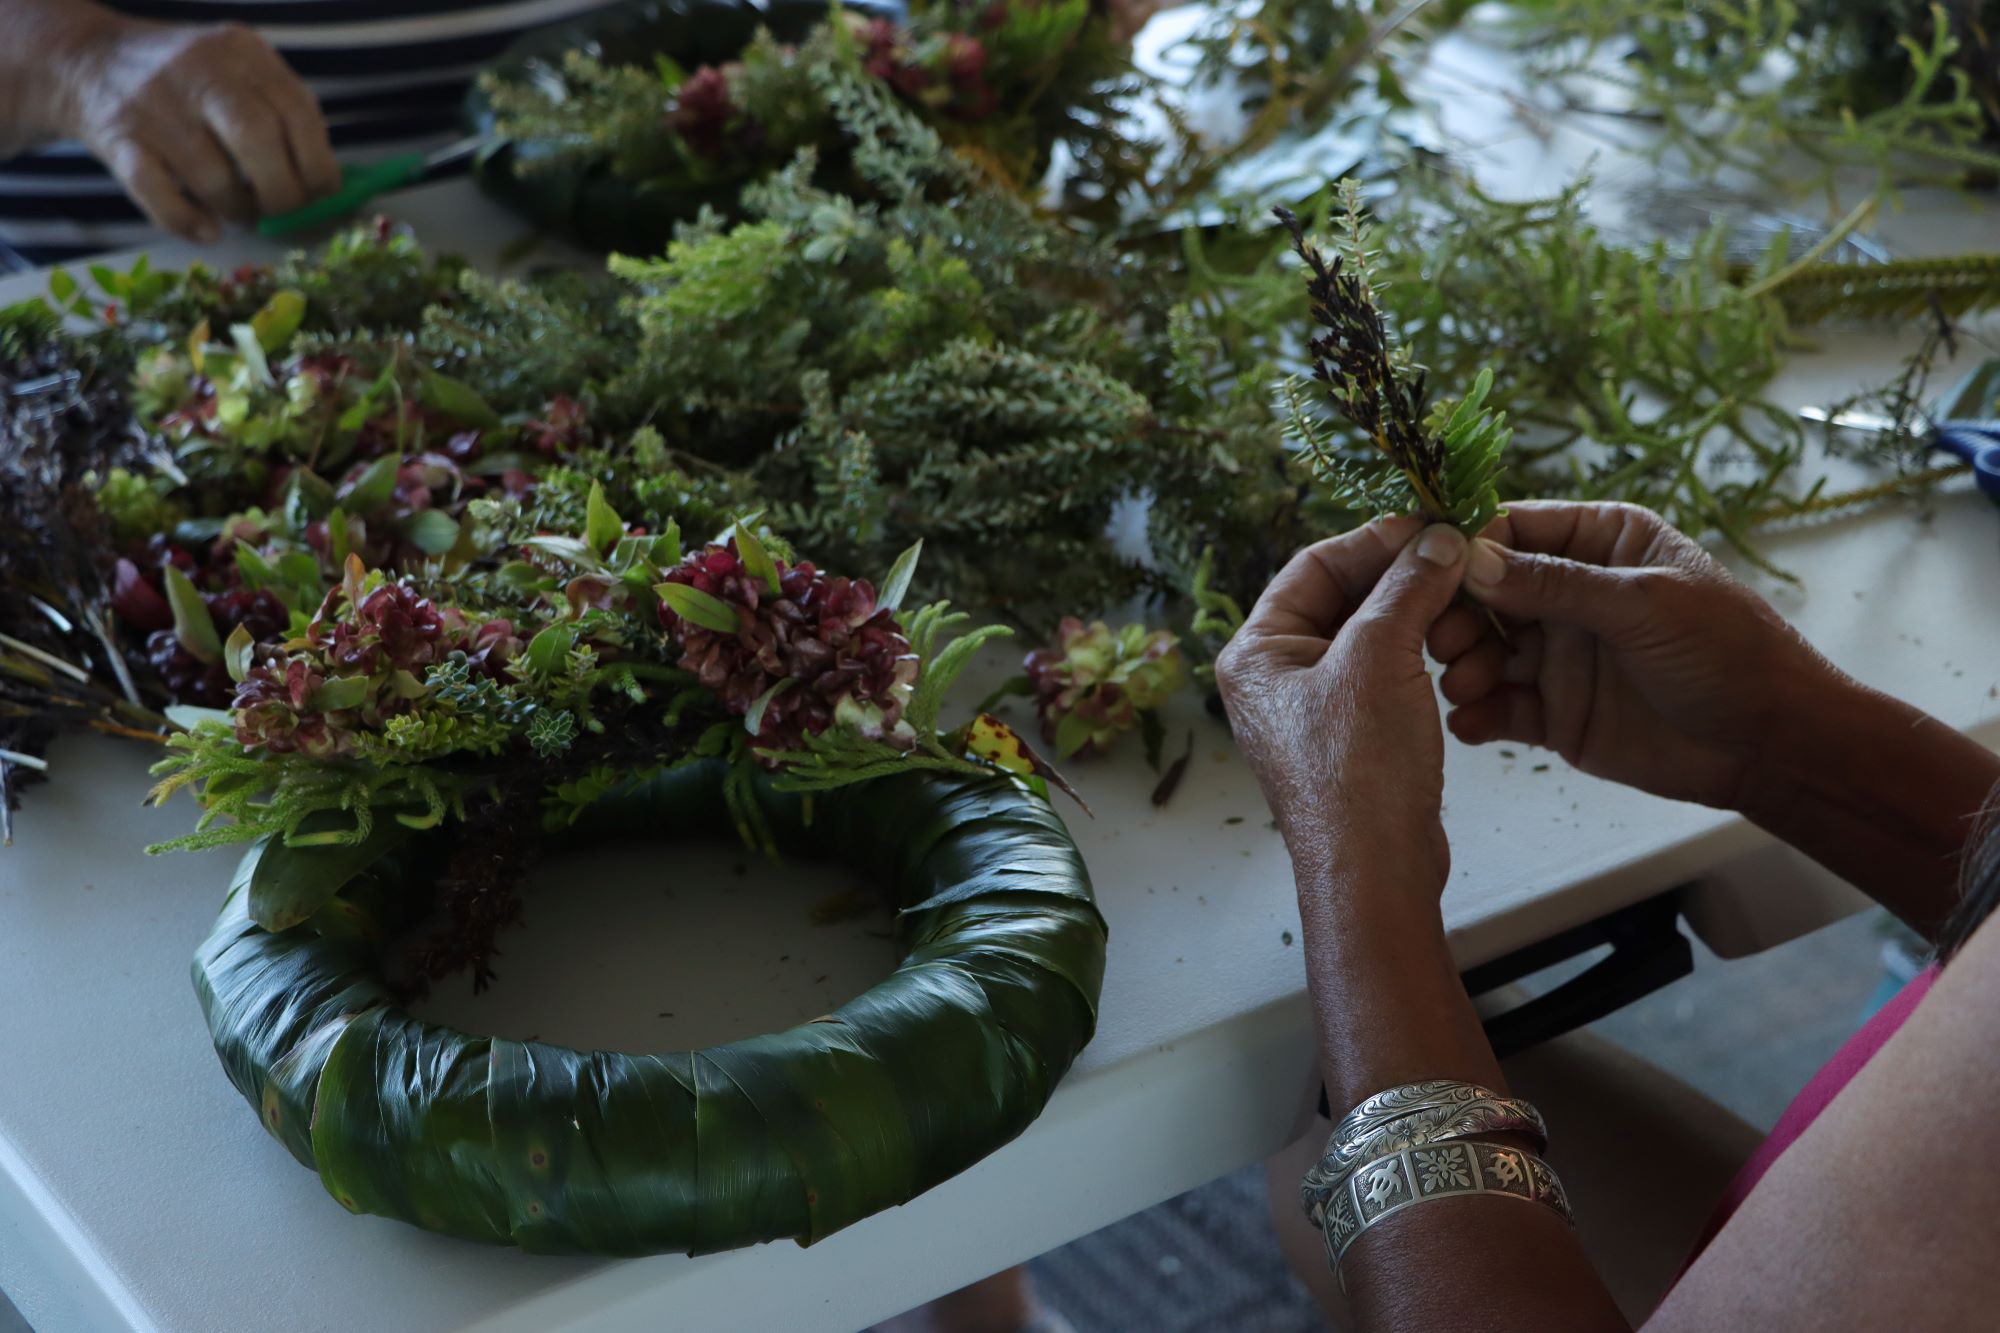
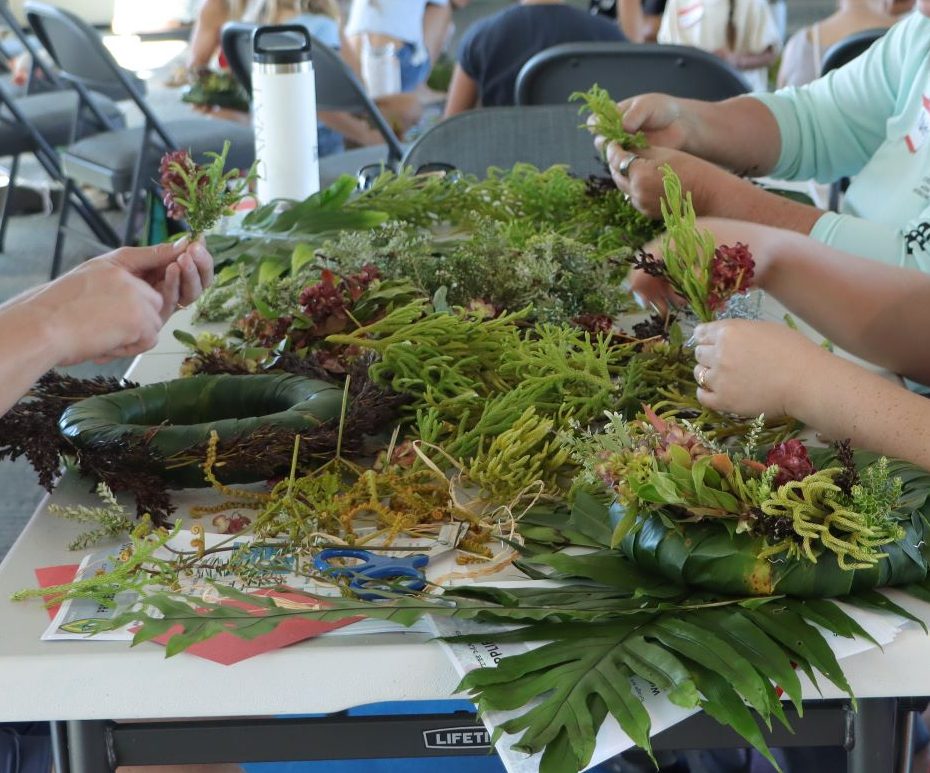
Each plant brings its own colors, behaviors, textures, and dries differently which can all play a role in your design. Some people leave portions of the ti-leaf form bare for a stark contrast. You can also add other non-plant decorations later like ribbon, ornaments, lettering, etc. There are no hard rules to designing your wreath, so don’t be afraid to get creative!
9. Assemble your wreath
Begin assembling bundles of foliage as you desire. Be sure to clean and trim as you go by removing any dead or unwanted material. Make sure there’s at least a thumb’s length of bare stem near the bottom so that the greening pins can easily fasten the bundles down. Firmly place bundles onto the form with greening pins so that the newest bundle covers the previous pins and angles the flora aesthetically. Below are some of examples of wreaths completed by our wonderful wreath workshop participants.

